

07.05.2014
After I broke one of the plastic fittings, to use the AIO I had to fix this problem and since I live in a country using the metric system I completely lack of tools needed so new fittings could be installed. For that reason I had to speak with a friend and help me with adding new fittings.
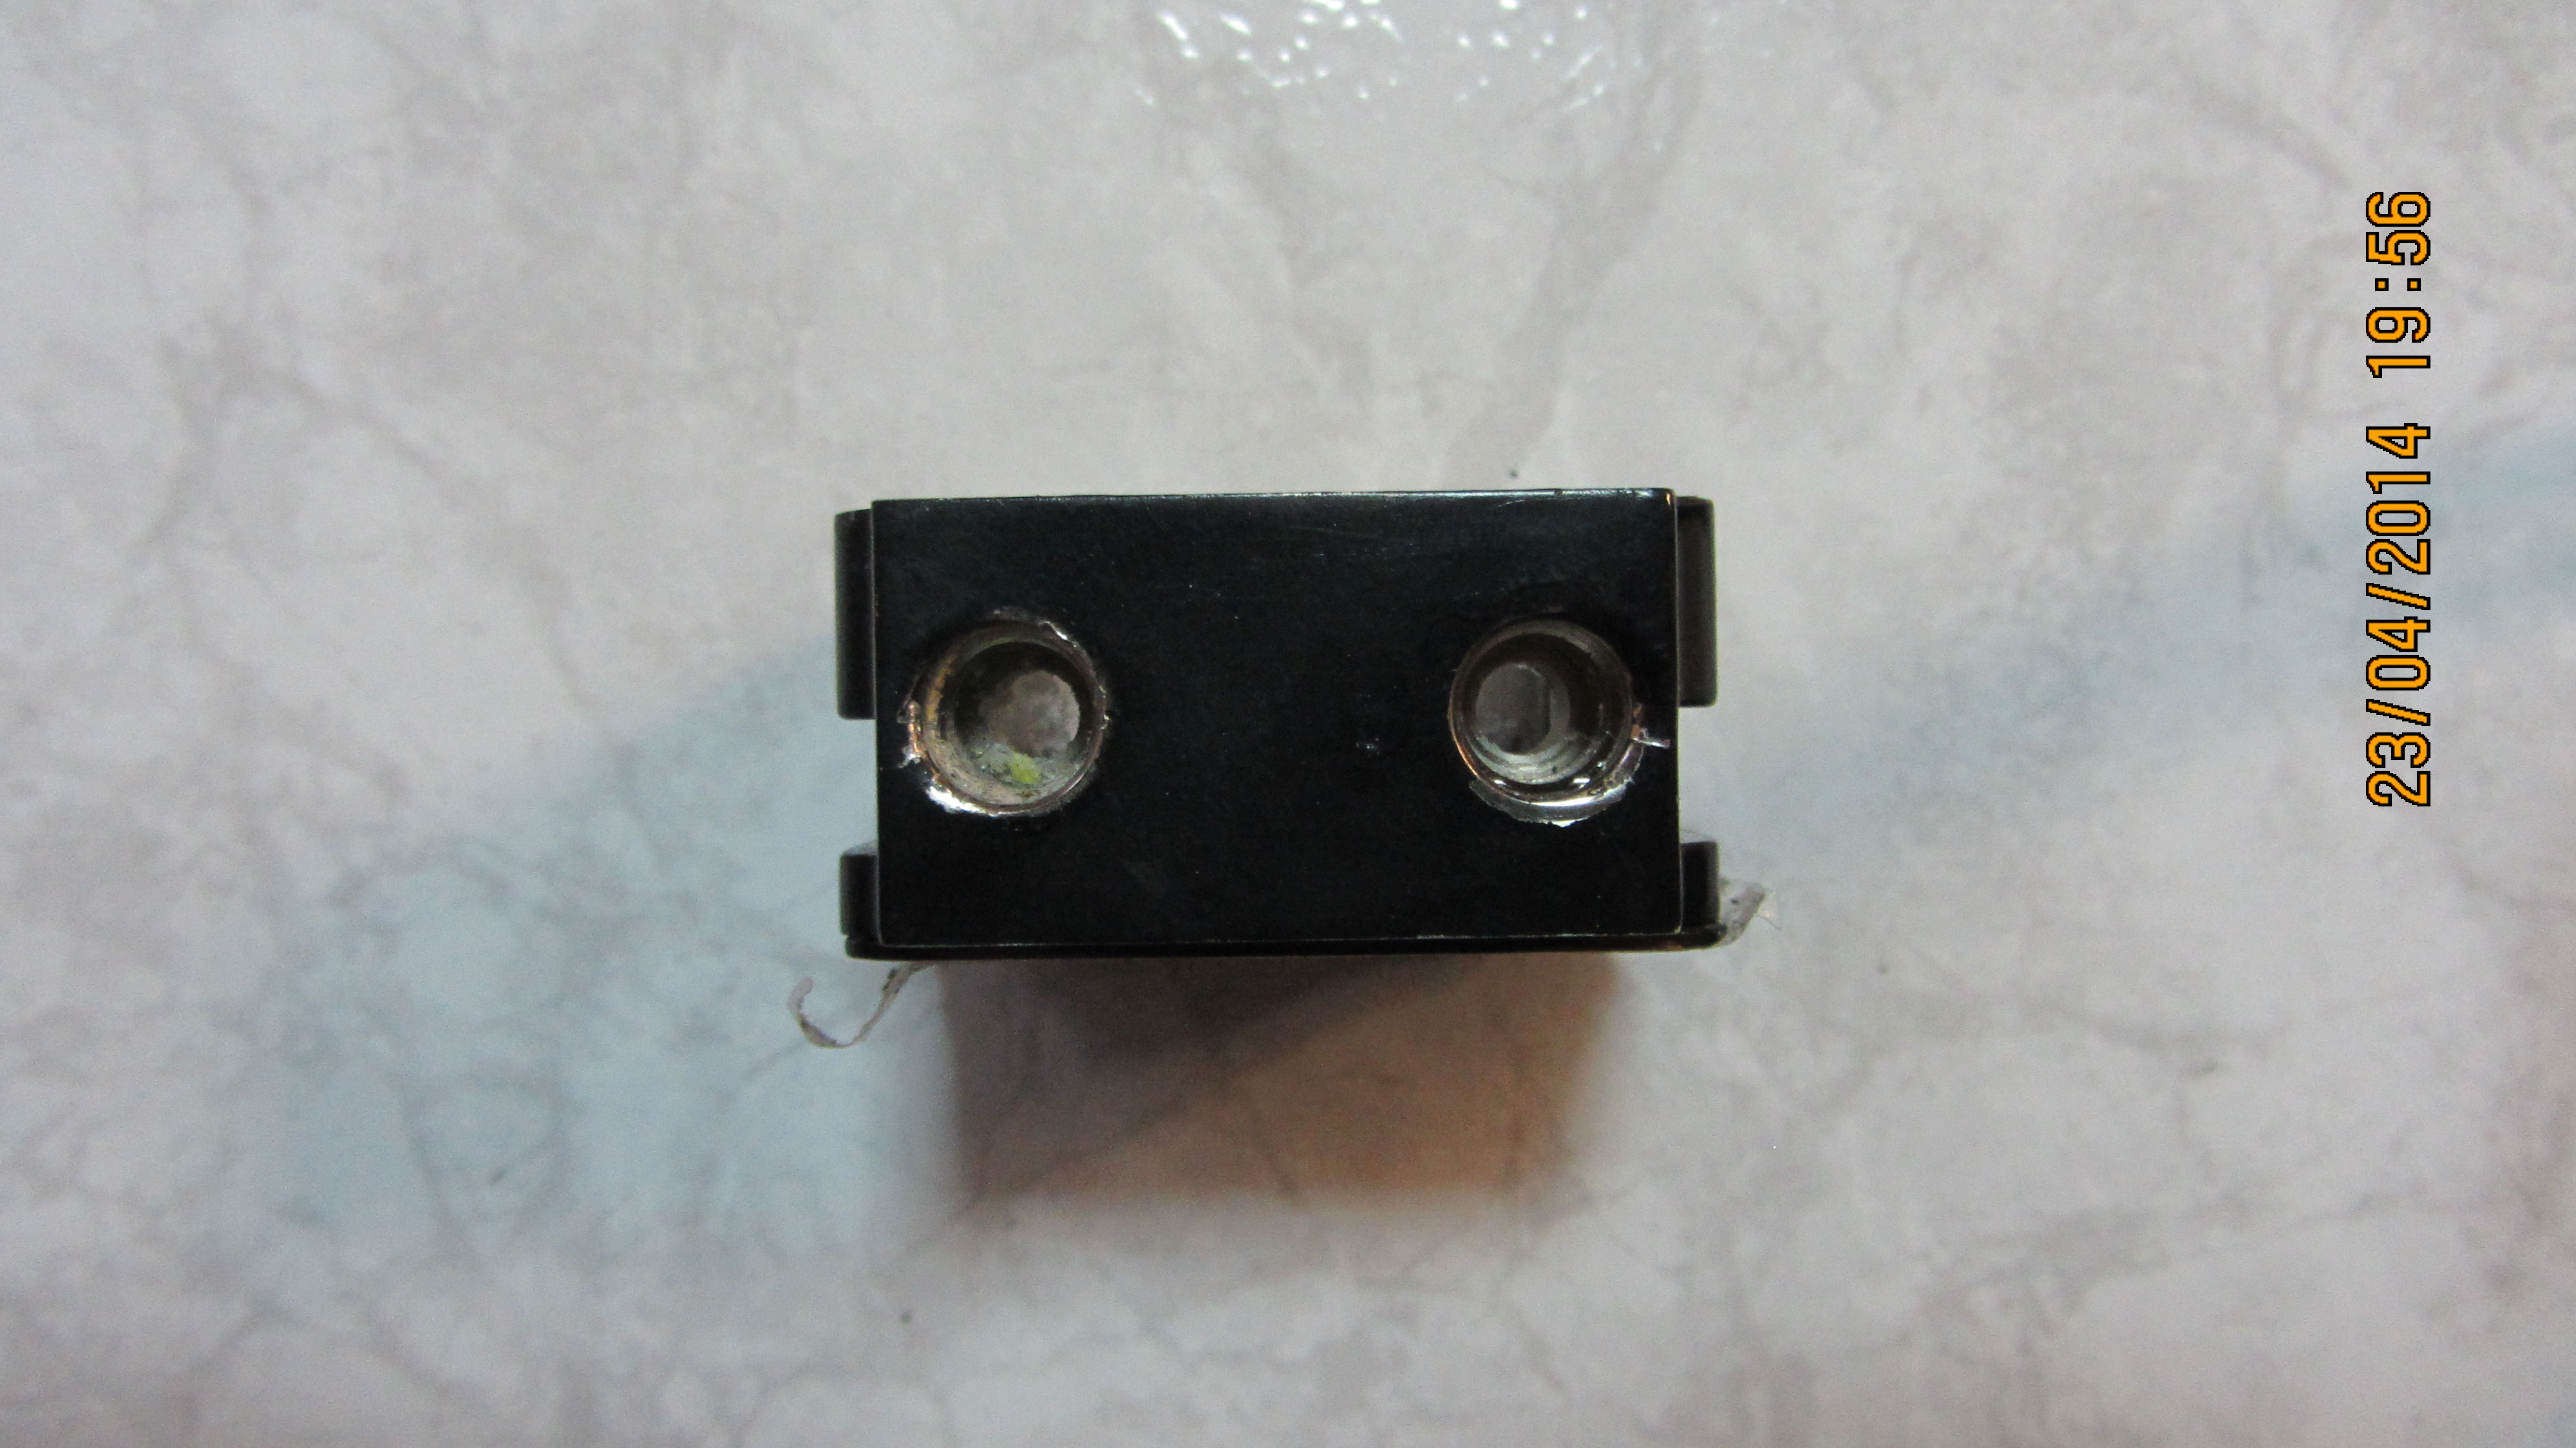
The waterblock with the fittings removed…
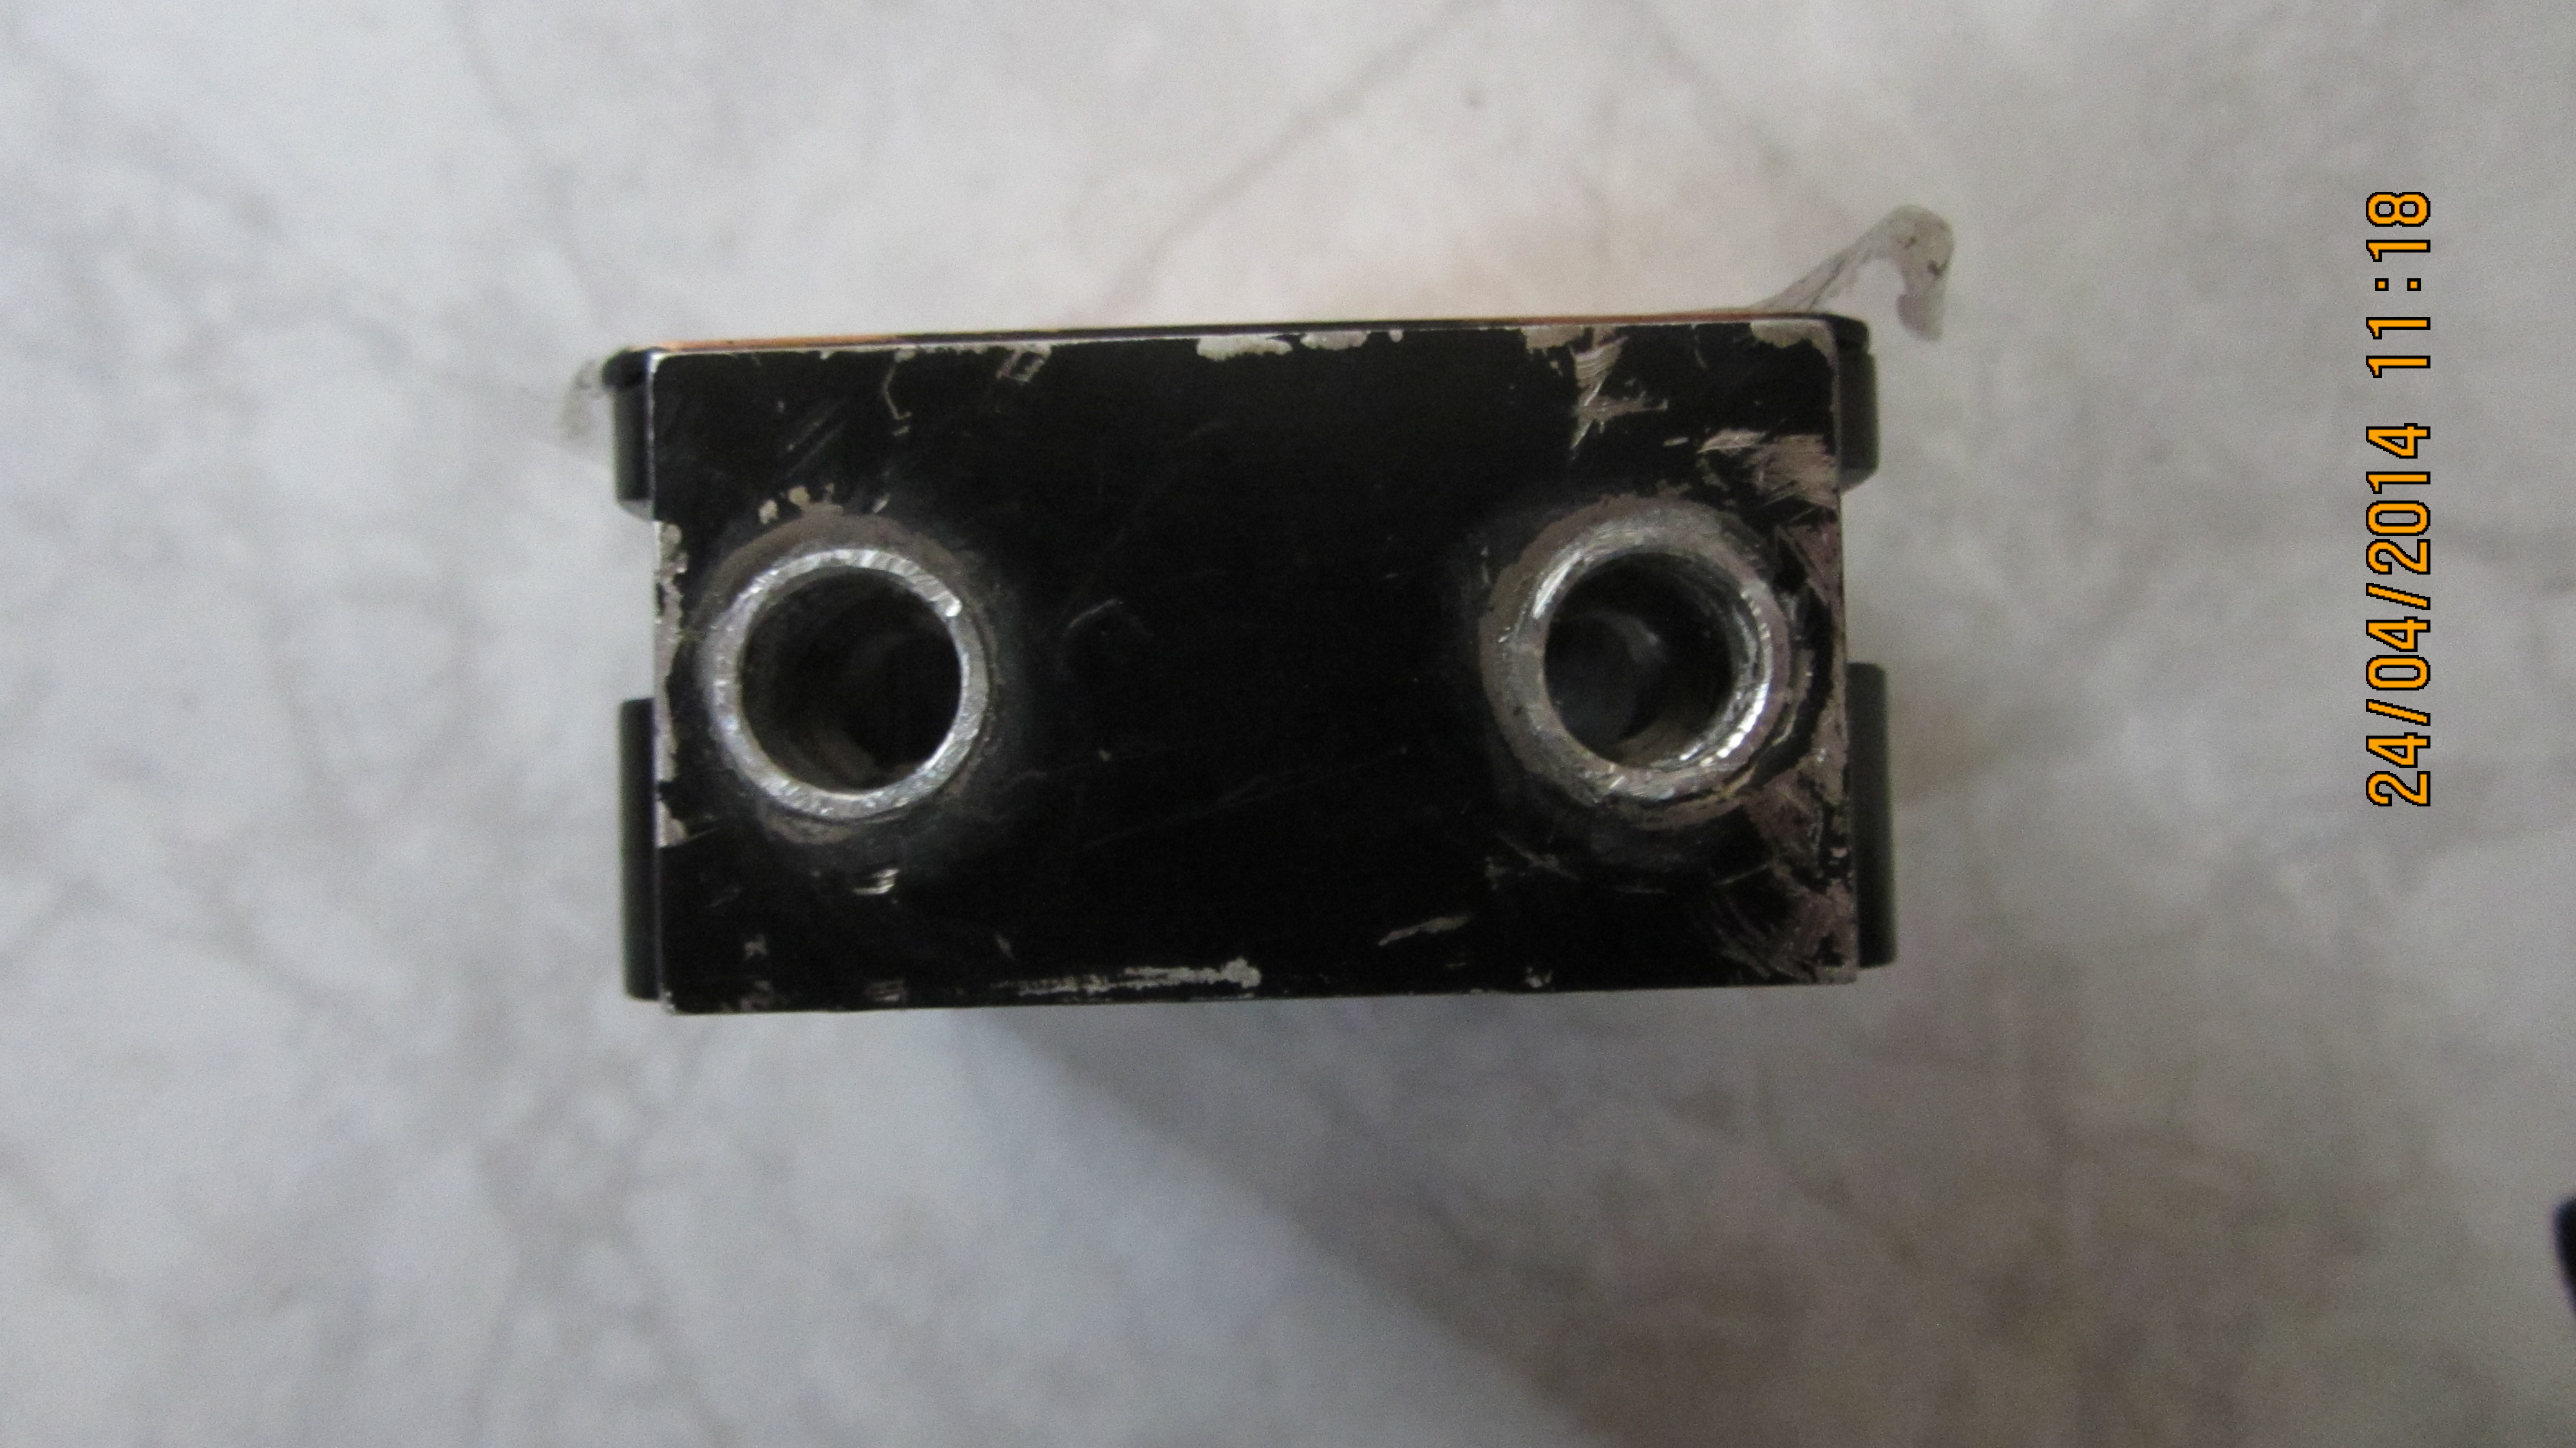
Together we decided to install new aluminum tubes and glue them to the holes made in the waterblock.
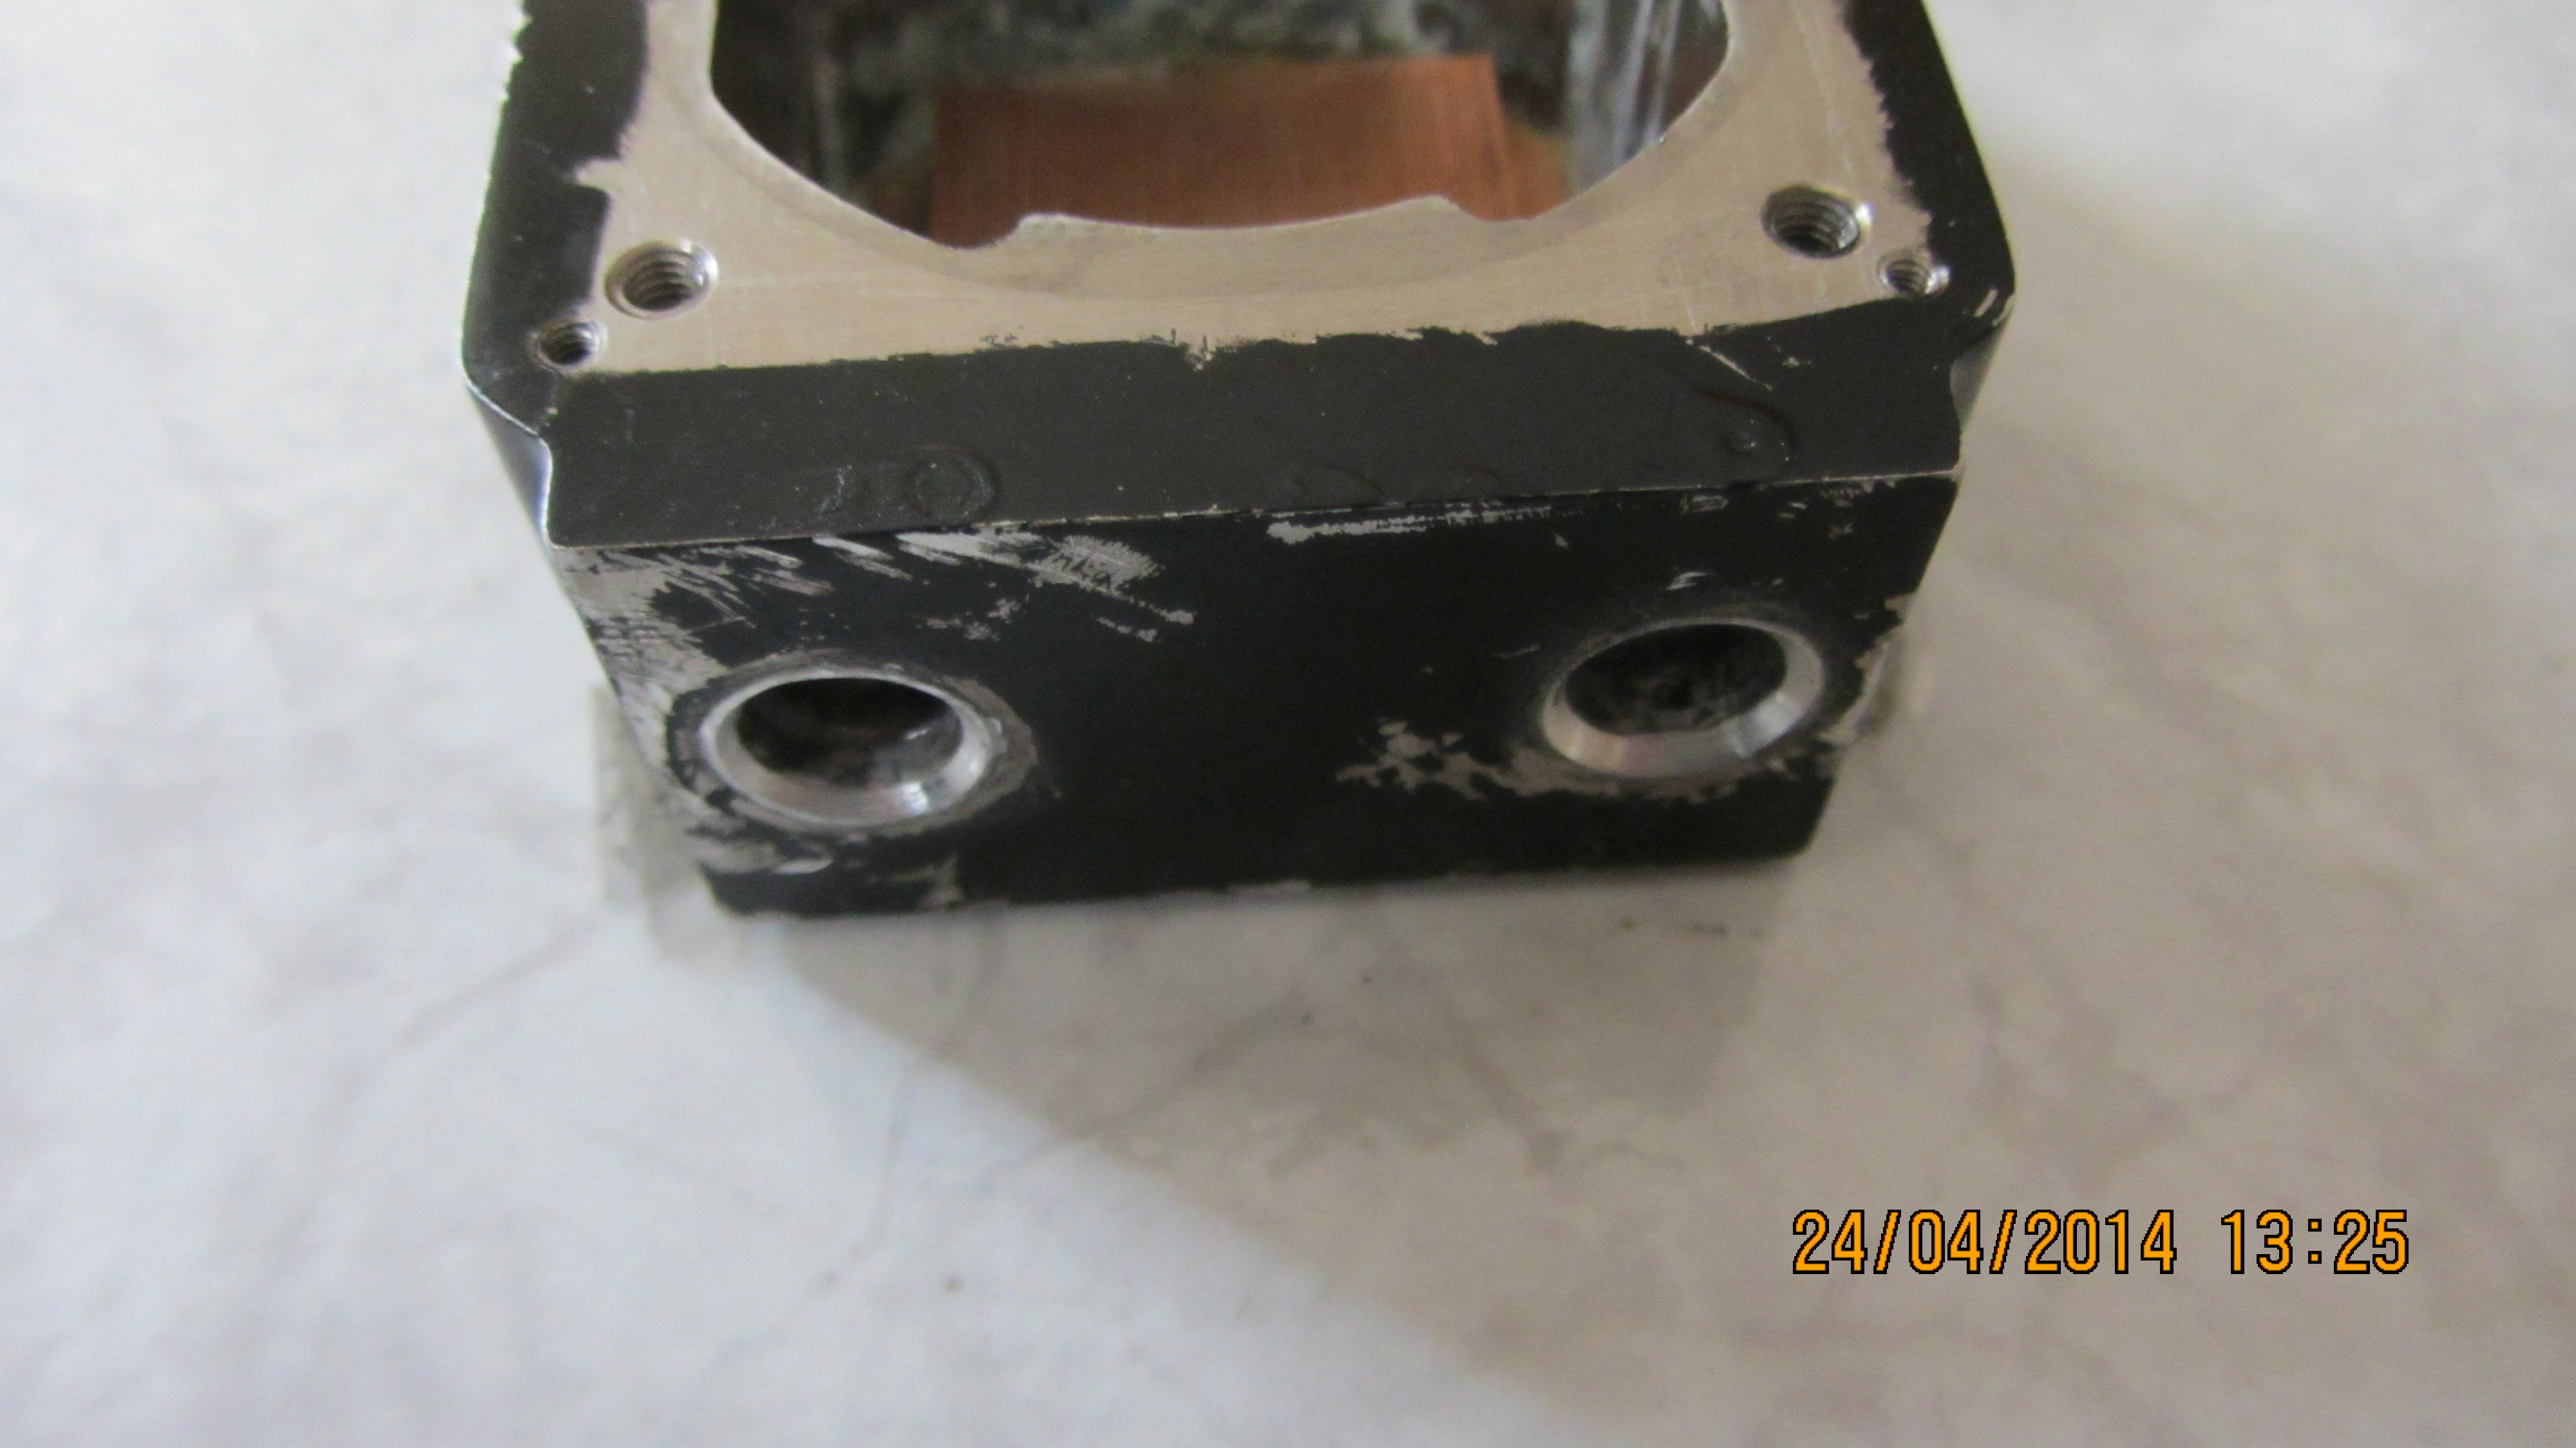
The new tubes were in place.. Next step is to make a screw and fasten the new fittings…
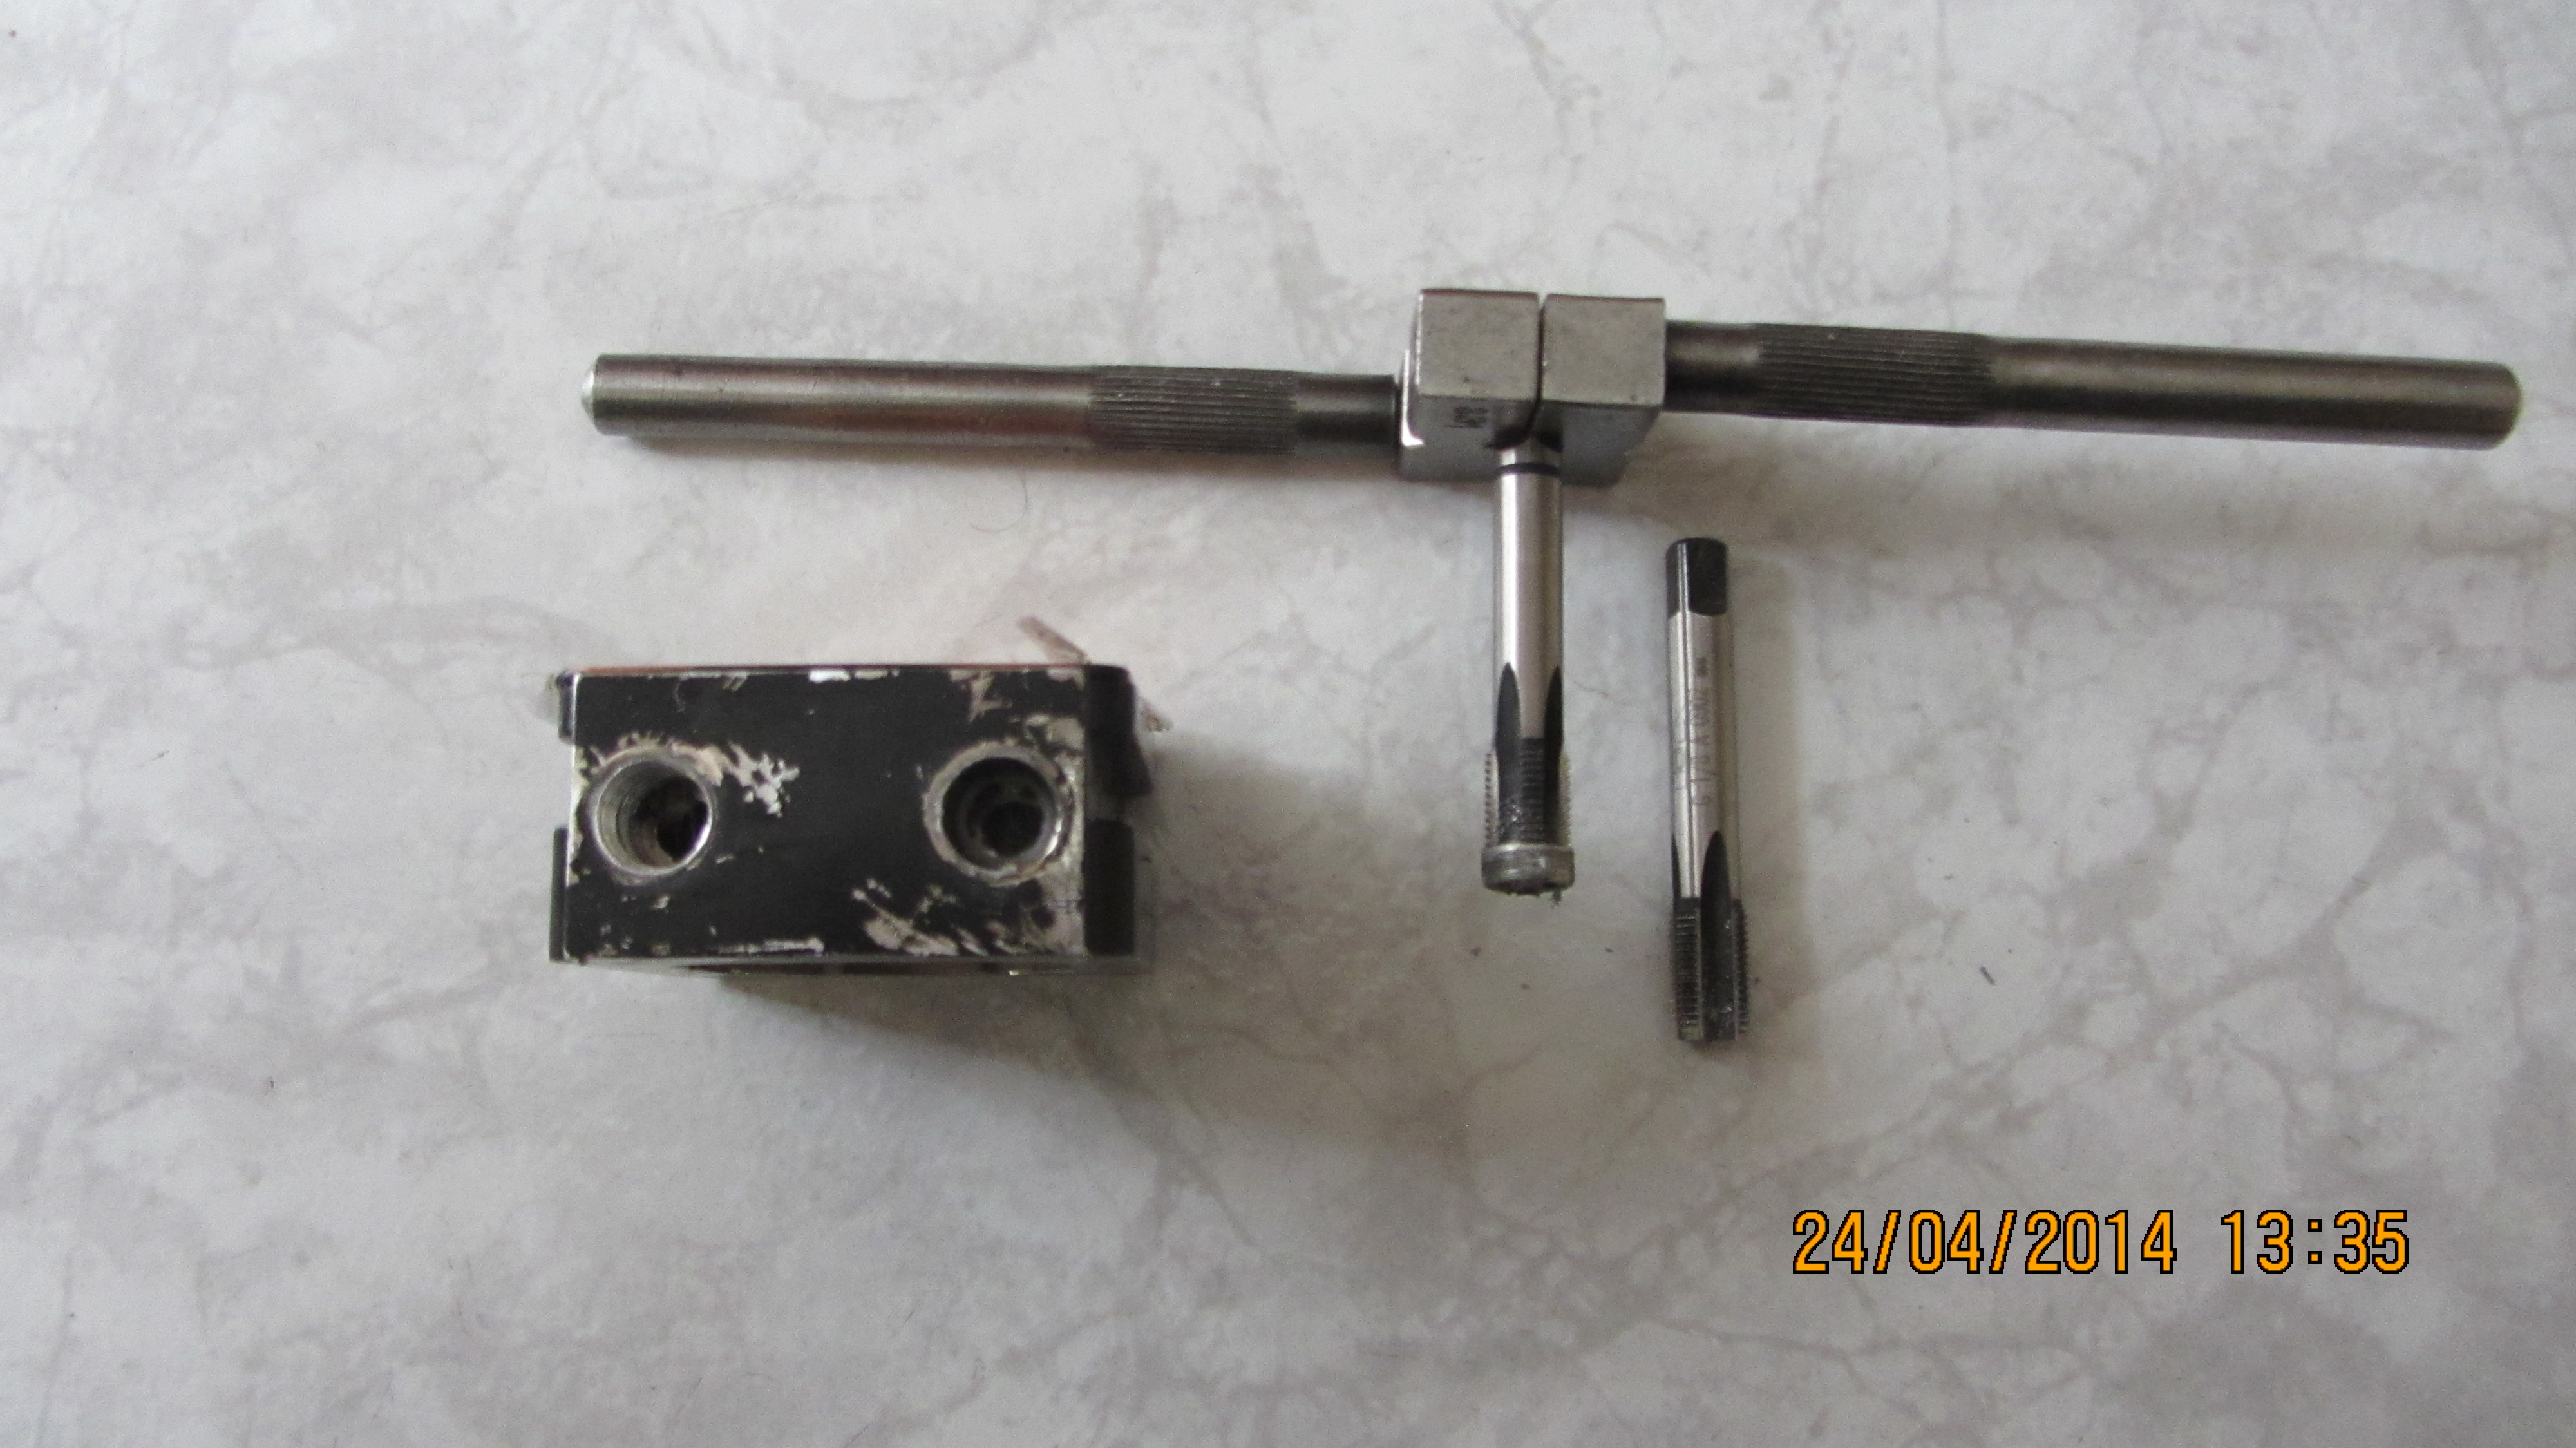
With the screw finished we had to fasten the new fittings…
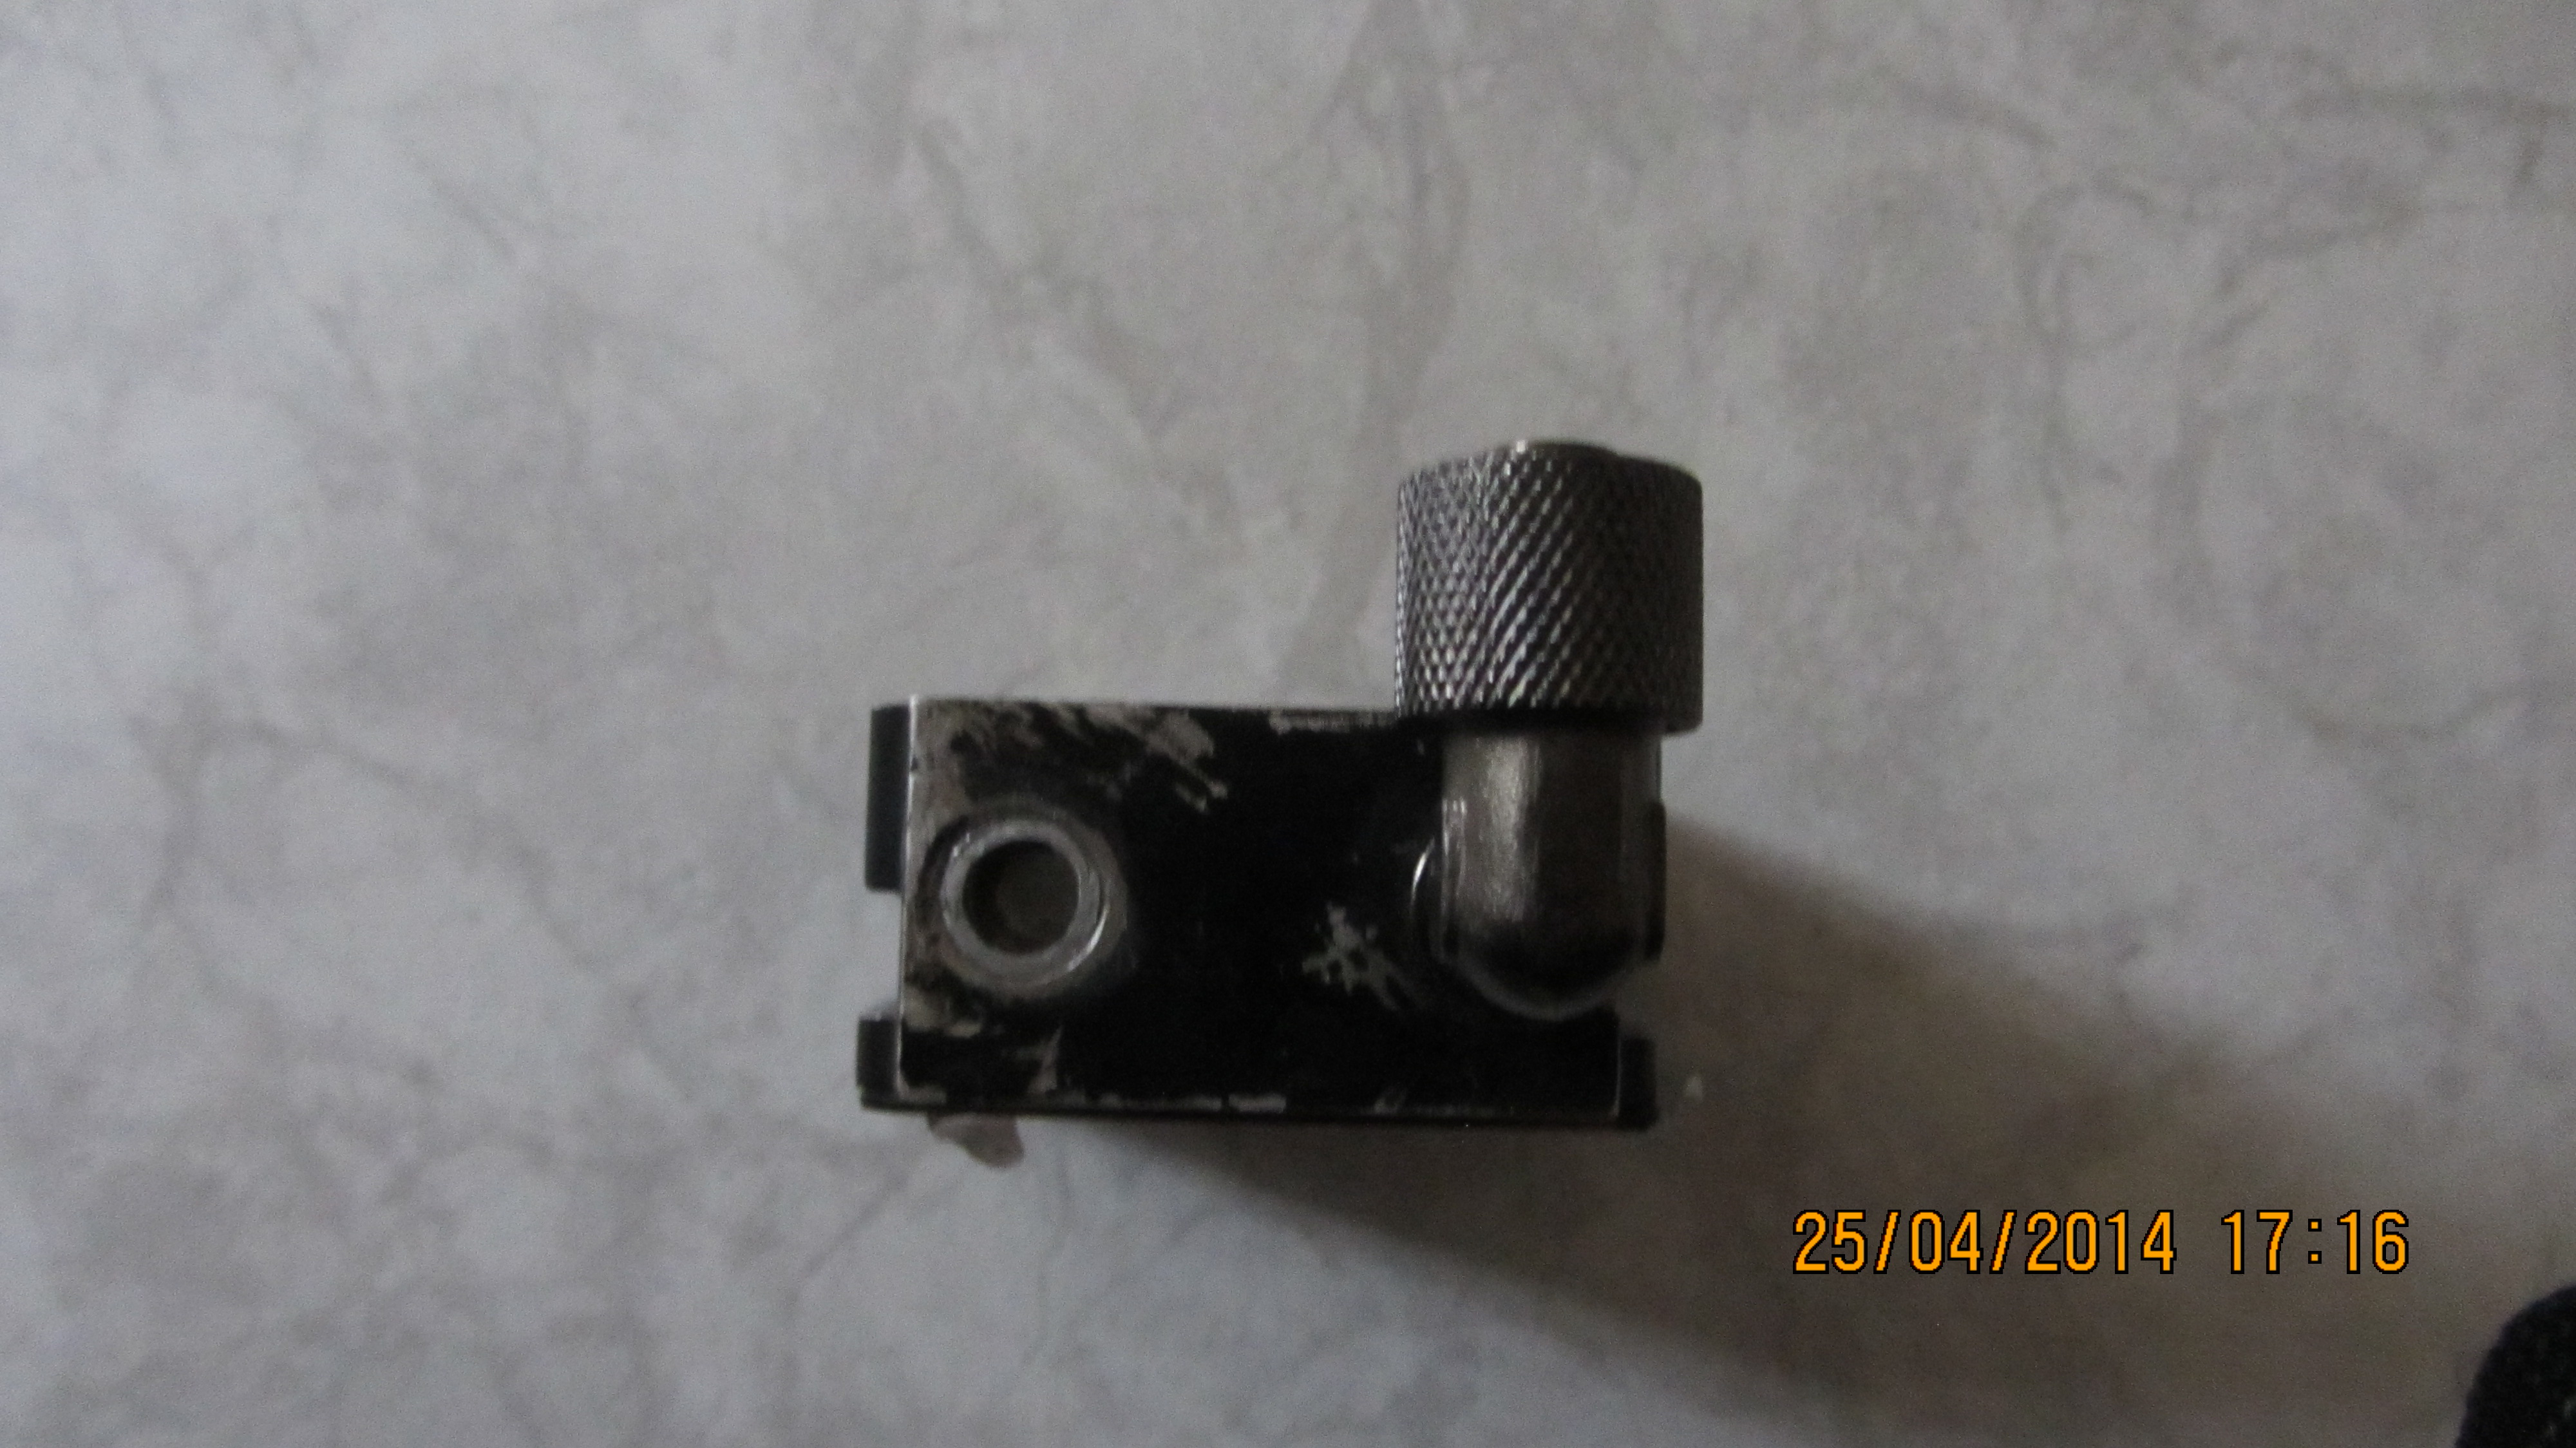
And the new fittings together…
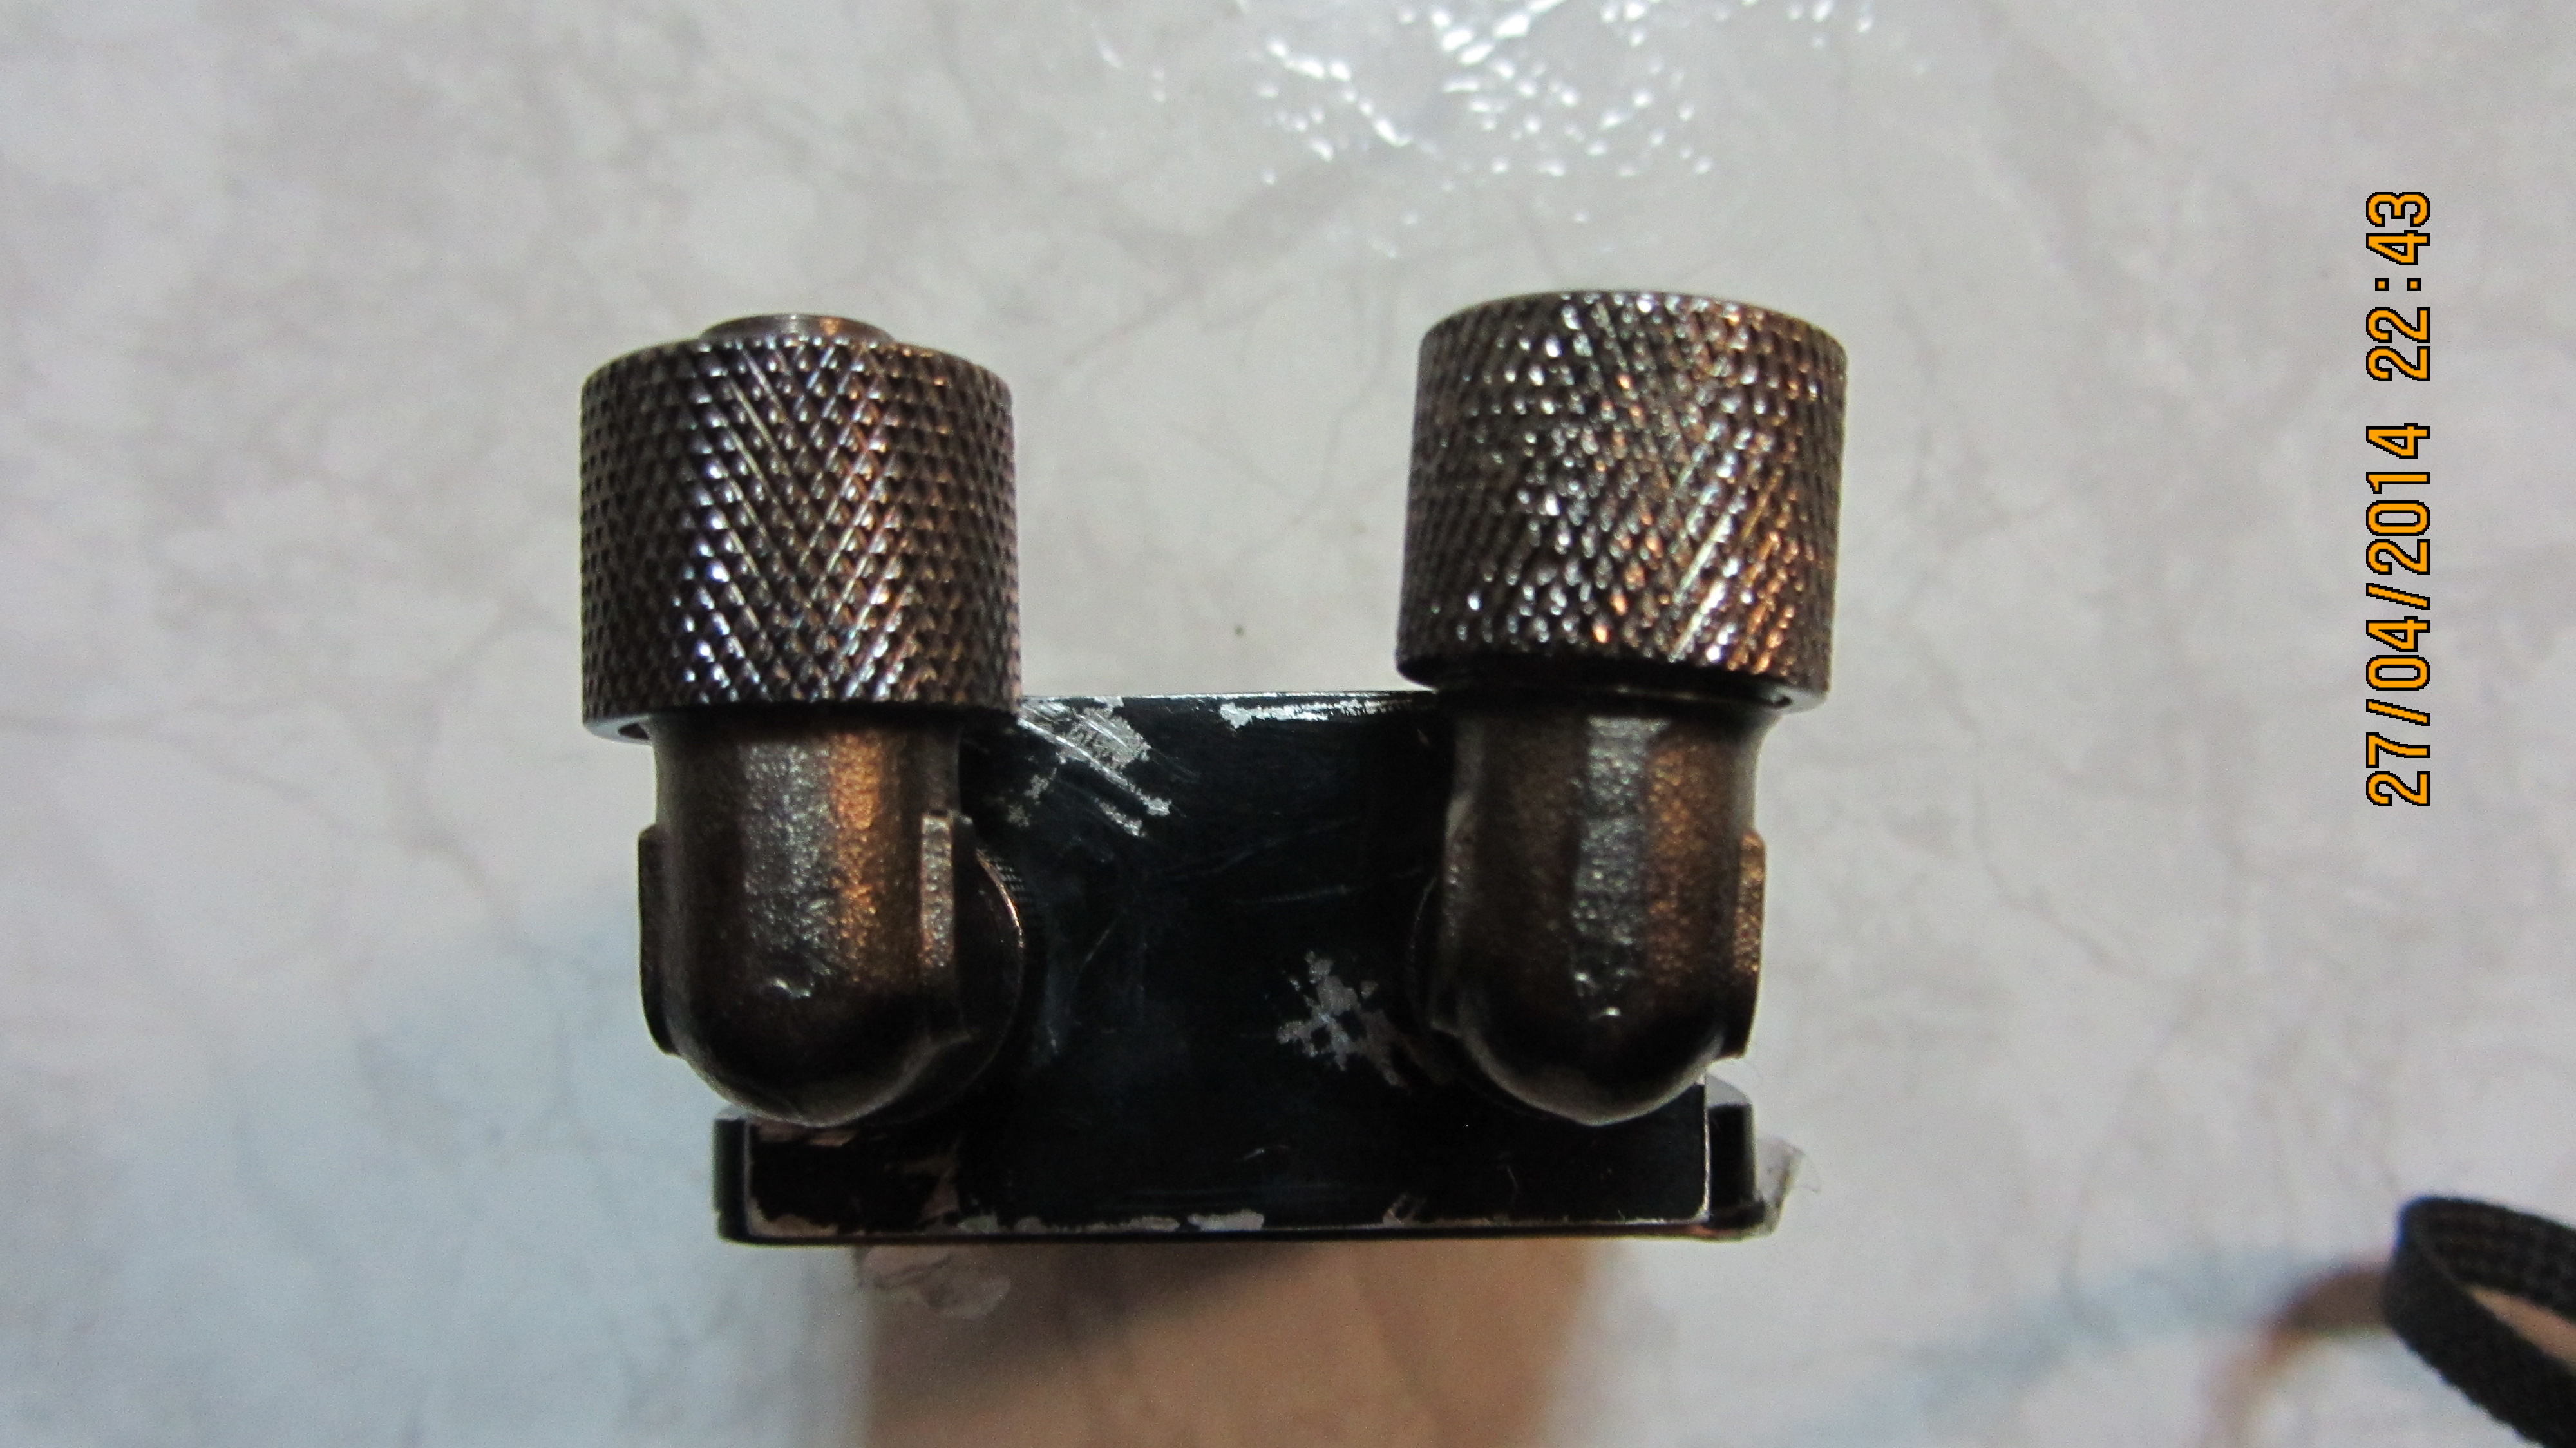
With both fittings installed it will be nice to share my future plans for the new tubes and later I will have to fix the paint…
The tubes are 8mm inner and 10mm outer diameter…
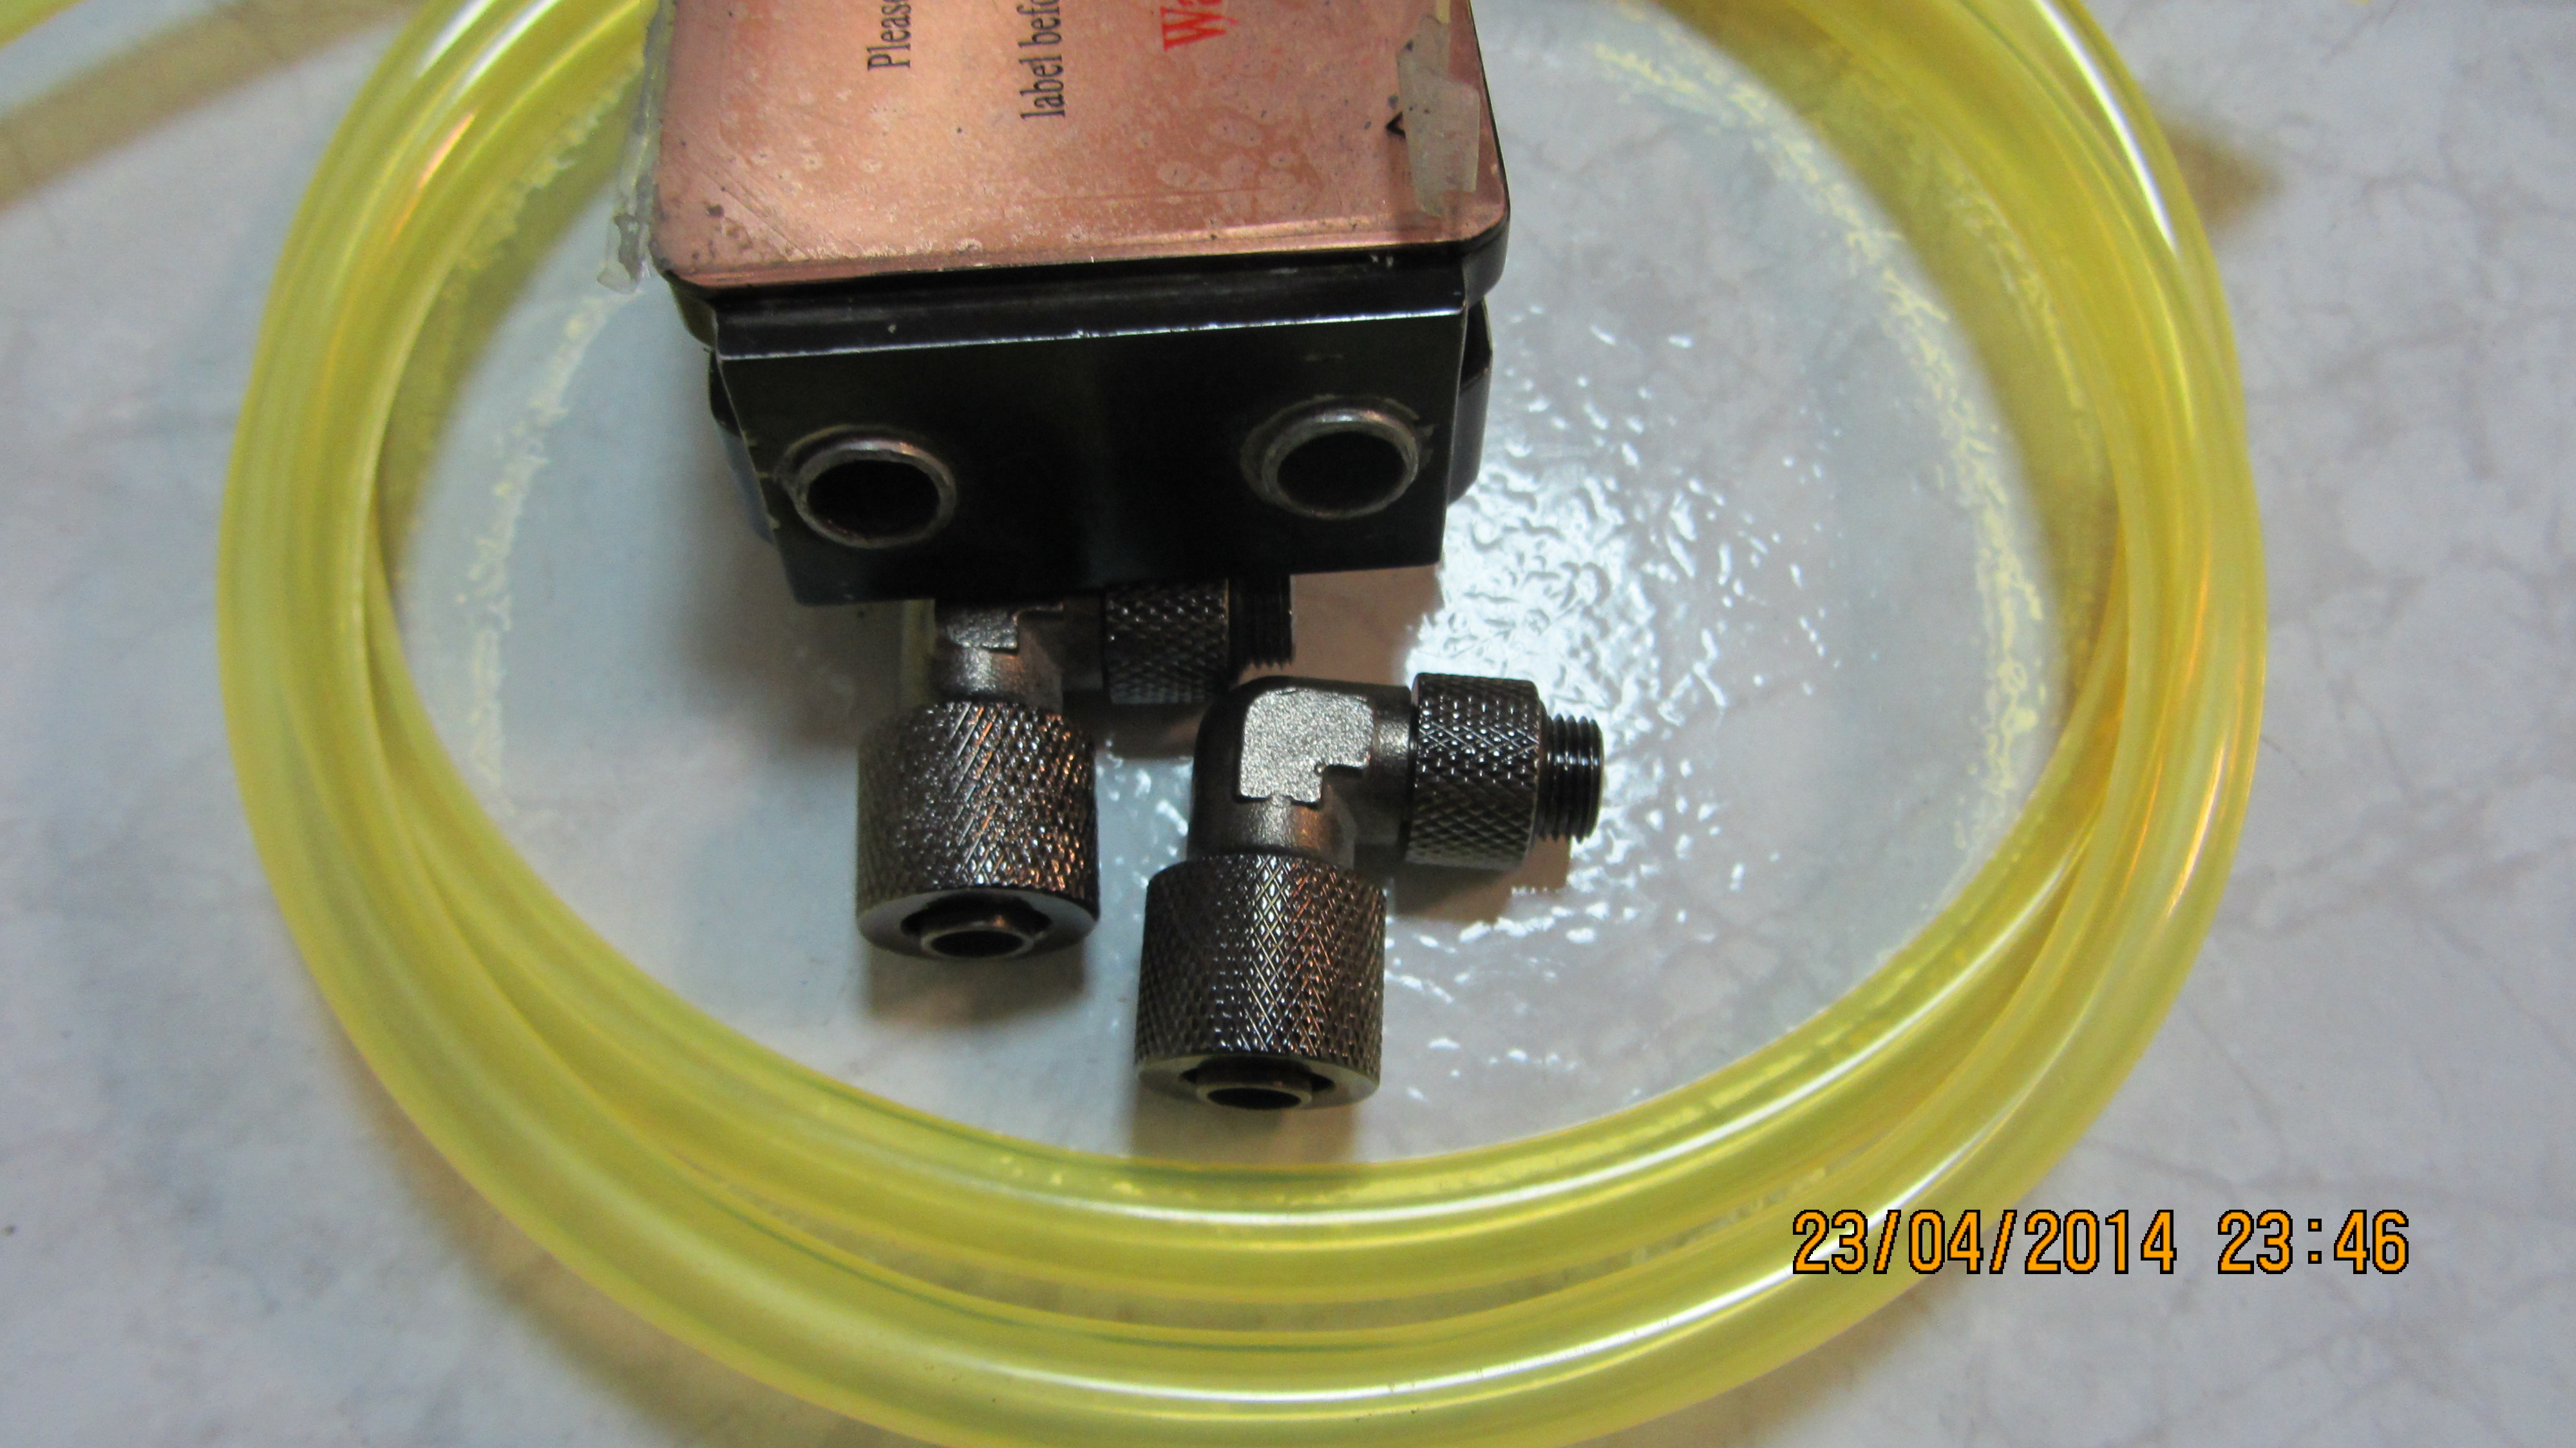
And here I want to thank to Ivan Ivanov (ivbrada) for assisting me with the needed tools and personal help fixing the waterblock and continue with my project…
I believe the AIO will be amazing and probably performing a bit better than the original.

Good afternoon sir Dobrin Krastev, How did you make the fittings ?
Hello John,
Thank you for being formal but we are casual people here helping each other so we can continue with casual communication.
On page 5 – https://www.dvtests.com/project-black-water/5/ of this project worklog there is more information how I and a friend did it.
If I remember correctly, since it was 4 years ago, we glued some metal inserts in the wholes and then made a screw with a pretty rare tool for my country since we use the metric system.
Please check the pictures on the web page.
Best Regards,
@Pepix
I was thinking to make a complete build in black/gold colour scheme but seems my case cant operate with twin radiator water cooling. Apart from that the AIO is not AMD compatible anymore.
@milce
I can’t quit the project since I started it in first place. I never quit anything I do no matter the difficulties 🙂
Soon the AIO will be ready.
I’m glad you didn’t quit despite the difficulties. As someone said in the comments above, great color pick, it looks way better than the original fan color. I’m anticipating the final look and the tests results. 🙂
will you make a complete build Dk_Vr? I wonder what it would look like with that colour scheme..
The originally white fans look great painted in gold, you have a hidden artist inside yourself 🙂
Nice job painting the fitting – it looks even better than before 🙂
Sometimes bad things happens only to make them better
@ Pepix
Next time. Now I need more experience with the watercooling setups.
@ Dimcho
Yea hopefully. I almost abandoned the project when I broke the fitting but Ivan Ivanov has the tools to install new one… Anyway modding the waterblock for new tubes was entirely his job 🙂
As the Battlecruiser (StarCraft) says: “Take it slow, make it happen” 😀 Hopefully there will be no more obstacles and we’ll see the mode soon.
🙂 Next time try to do it from ground up.. if you are going to manually modify everything anyway 🙂
Well, bad things happen sometimes, but keep going, I am really want to see the final result 😉
Nice work Dobri. I will monitor the progress of the project.
Inspiring job so far, gold color looks great, I’m looking forward to see the final results 🙂