
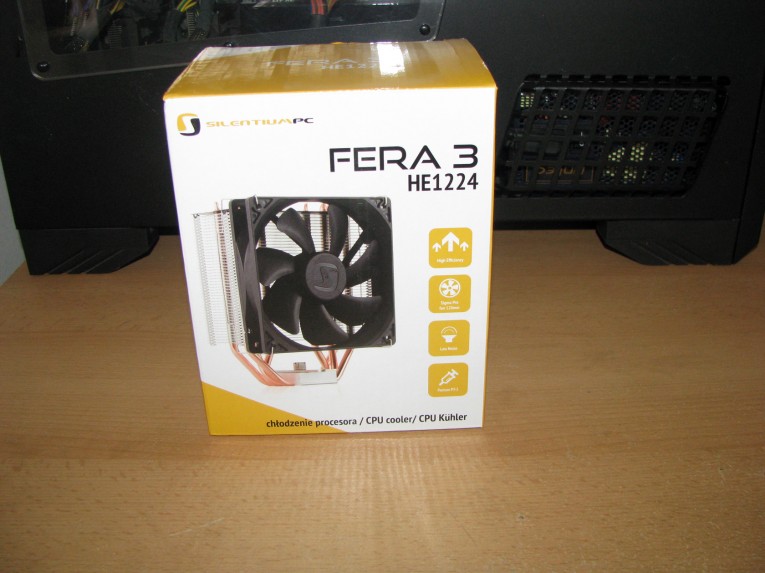
FERA3 HE1224 is one of the latest arrivals in the company portfolio, which was recently announced by SilentiumPC. As the name states, FERA3 HE1224 is actually the third revision of the FERA HE 1224 cooler and with its dimensions, performance and price range is entirely meant to be a cooler for the mainstream users.
I already have the cooler ready to be tested and reviewed and I am really excited about the performance of this product, since it looks very promising, while cooling my AMD A8-5600K processor at default, a bit overclocked, a bit more overclocked and pretty highly overclocked frequencies.
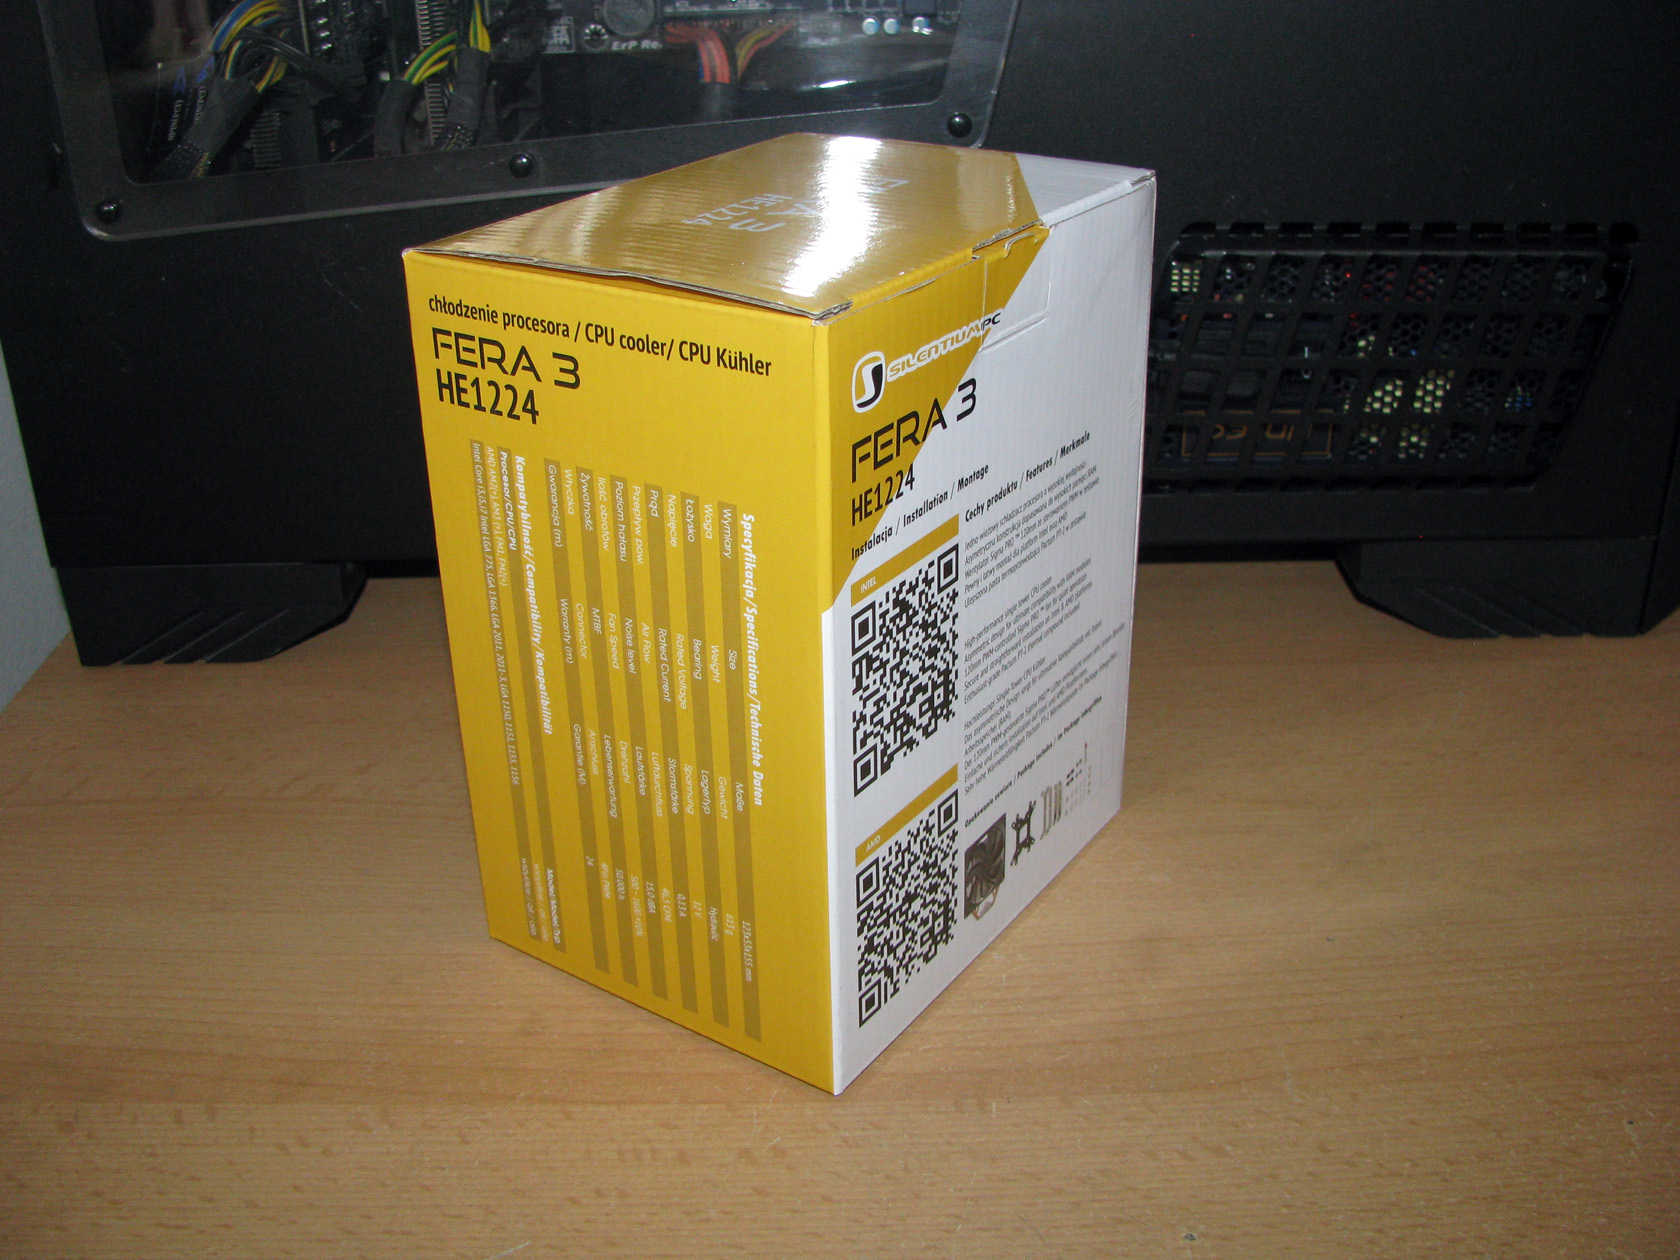
The cooler was delivered to me for doing a test and review in a pretty small and at the same time very colourful, painted in yellow and white carton box with a big picture of the cooler and some details regarding the product on the front side of the box, while the full technical specifications and some additional details regarding the product are located on all of the other sides of the package. Of course, to make things easier the guys from SilentiumPC added a QR code on the back of the box, which will lead you directly to the official web page to get more information.
Indeed the package looks very attractive but it is not the main focus of this article, so let’s open it and check what’s inside…
After I opened the package, the first thing to notice was the top black fin of the cooler with the company logo and two smaller white carton boxes on each side of the cooler. The first one holds all of the additional accessories, while the second one holds the 120mm fan. Of course, all of them protected with thin Styrofoam sheets.
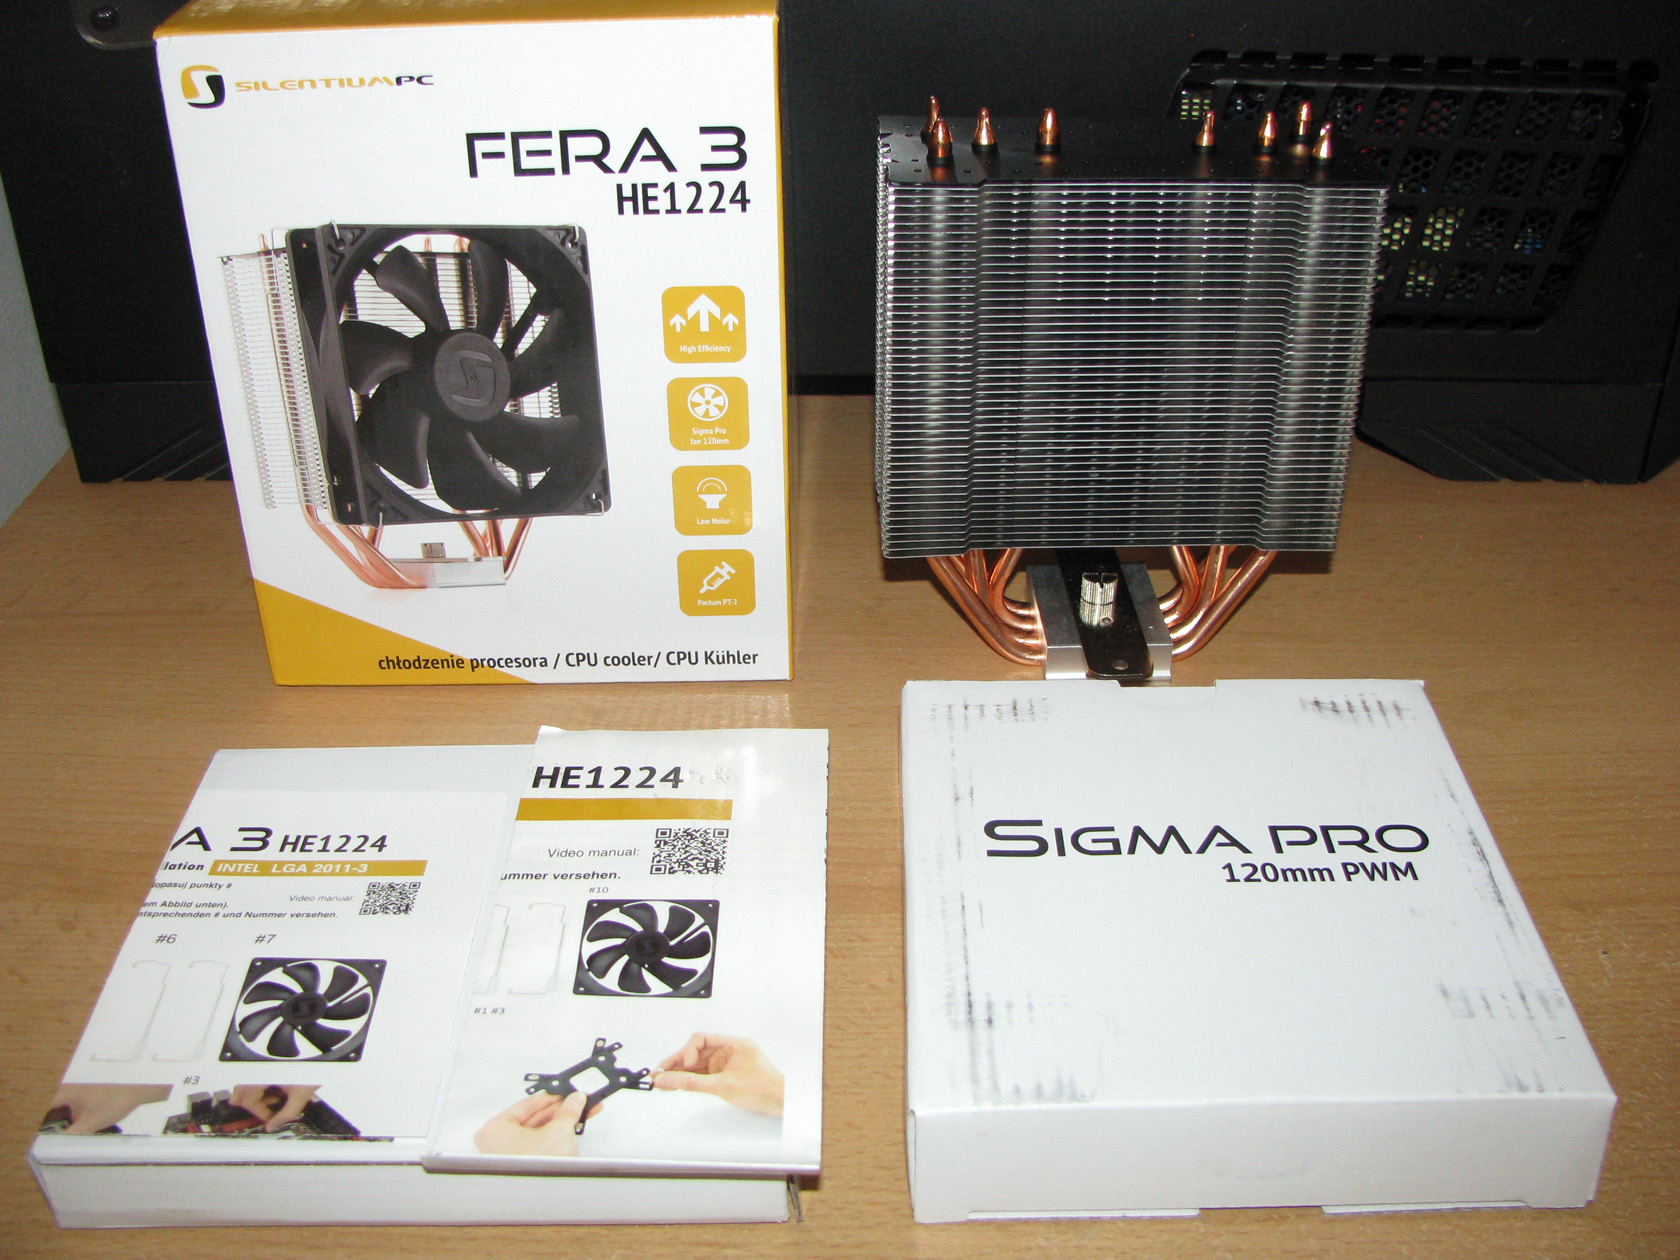
And this is the view which I got after I took all of the things out of the carton package.
As always, let’s start checking the accessories pack.
SilentiumPC FERA3 HE1224 ADDITIONAL ACCESSORIES
All of the accessories accompanying the cooler were provided to me separately packed inside small nylon bags to ensure that all of the parts will be in perfect condition and most importantly in full quantity. And all of them together, placed inside a white carton box.
After I took all of the accessories out of their packages and arranged them for taking some pictures, this is the view I got.

The standard SilentiumPC FERA3 HE1224 package features:
- Black plastic back plate required for all Intel and AMD sockets
- 2 x long metal front brackets needed for installing the cooler on AMD sockets
- 2 x metal front brackets needed for installing the cooler on all Intel sockets
- 2 x additional metal clips for installing a second 120mm fan in push-pull setup
- A various set of bolts, screws and plastic tubes needed for the AMD and Intel installations.
- A syringe of high grade Pactum PT-2 (5.0 W/m.k.) thermal compound
- Installation manual for Intel and AMD platforms
- Sigma PRO 120 PWM-controlled fan
The standard accessories pack is actually not very big but it features all of the necessary accessories needed for a normal installation and usage with AMD and Intel systems. Also for this cooler all of the major installation accessories are made of solid and shiny metal, which will definitely deliver rigid connection between the processor and the cooler and overall reliable cooling performance.
I believe the time has arrived to check the cooler’s structure.
SilentiumPC FERA3 HE1224 HEAT SINK STRUCTURE
As usual, before I start describing the product itself I spent some time examining the cooler’s structure and according to what I saw the cooler is actually a mainstream product made to deliver quality and performance improvements over its predecessor while still providing compact dimensions of 125mm(L) x 53mm(W) x 155mm(H) without the fan. When the fan is added to the heat sink the overall dimensions of the cooler are 125mm(L) x 78mm(W) x 155mm(H) and weight of 613 g.
As always, let’s start with the contact plate, the component of the heat sink with the most significant role of keeping the processor running cool and quiet.
| The contact plate | Asymmetrical design |
 |
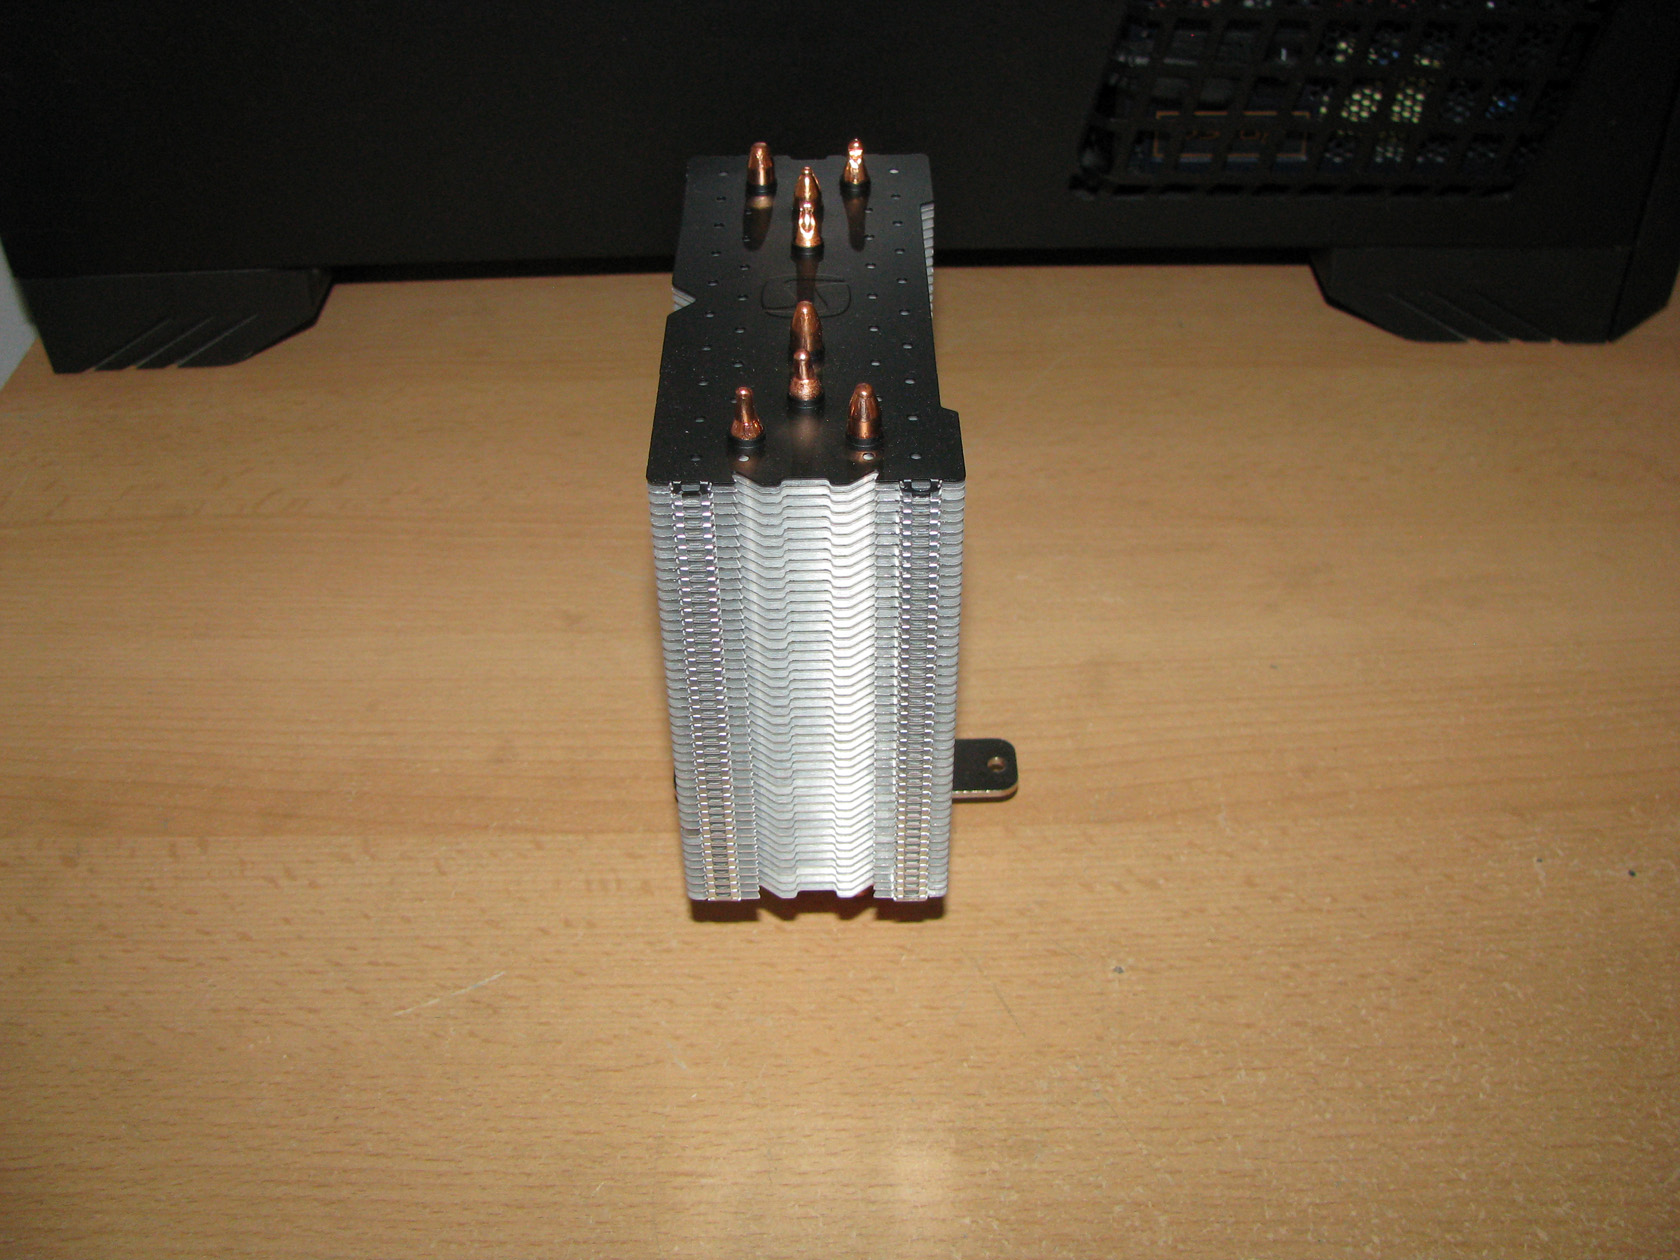 |
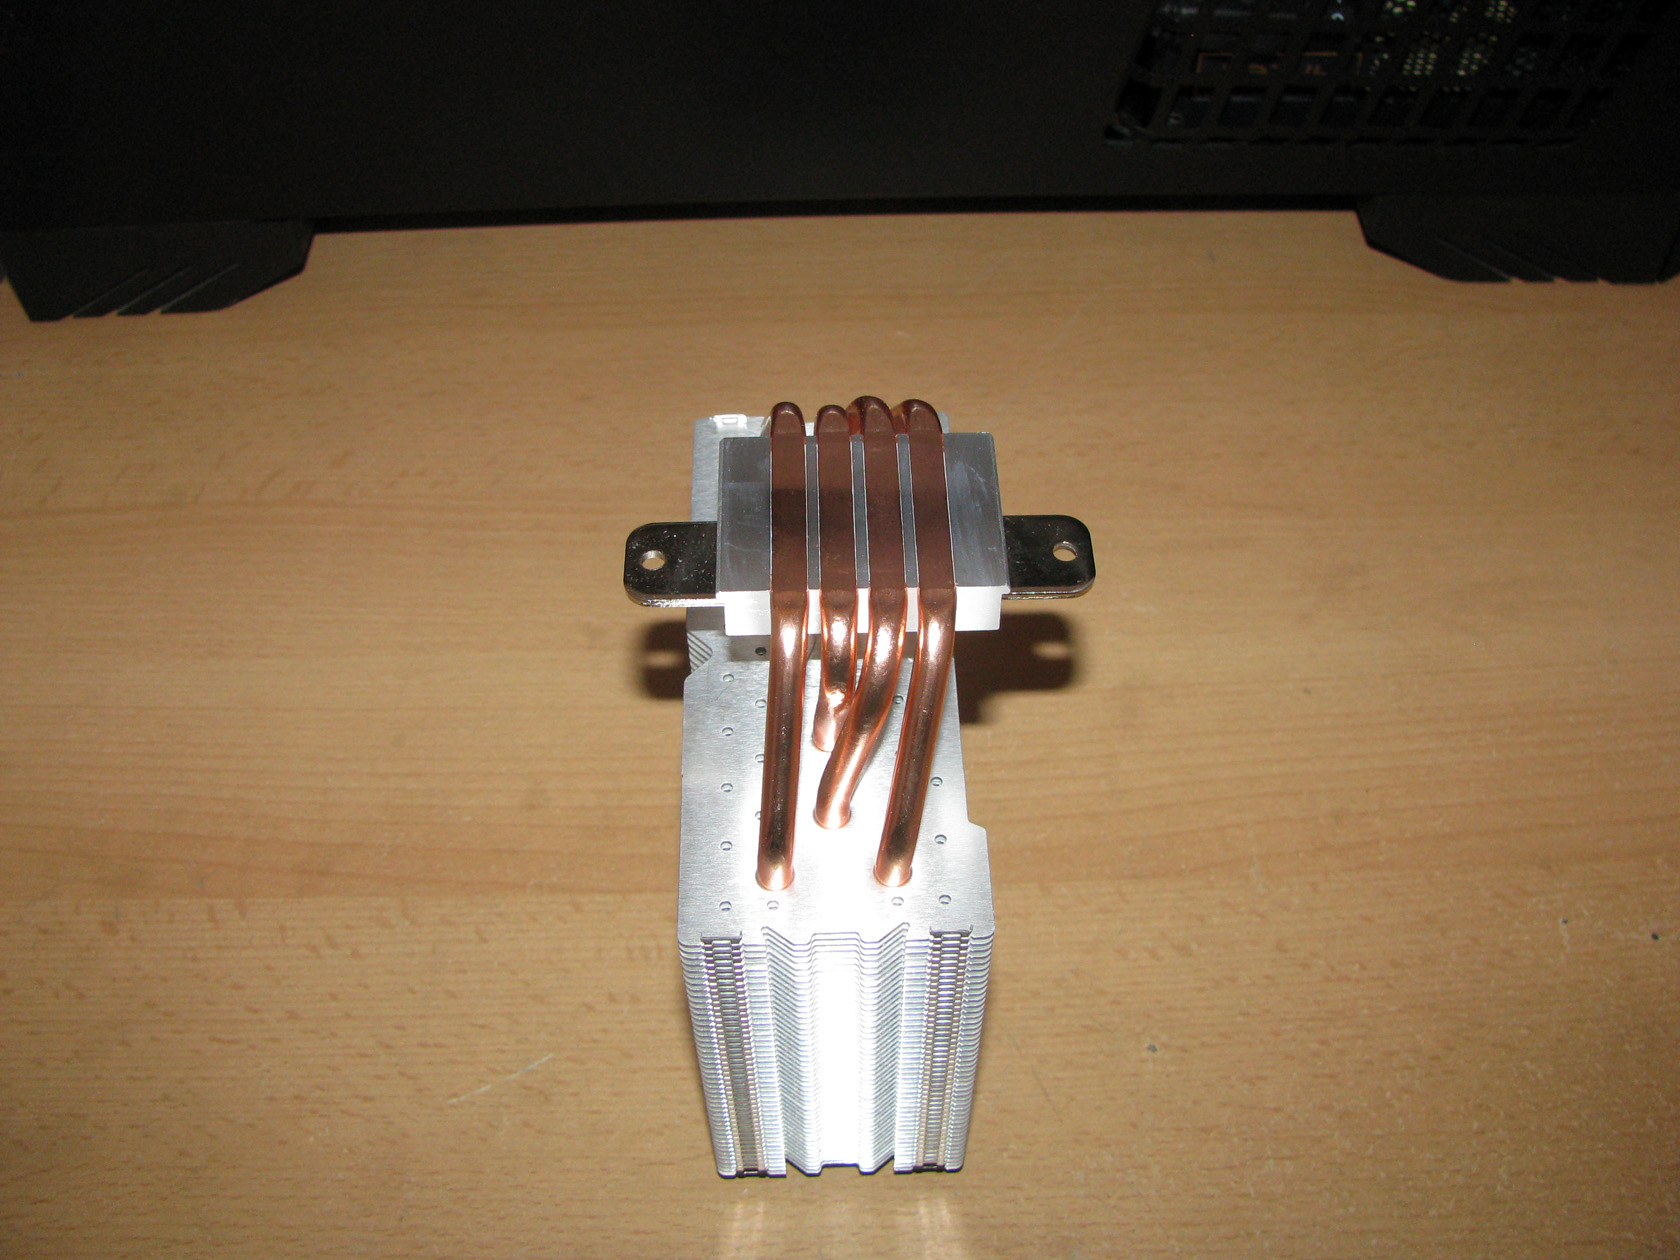
The contact surface for this product is made of a perfectly milled aluminum plate, holding in line on the bottom side the 4 x high performance Ø6mm asymmetrical U-shaped copper heat pipes made to be in direct contact with the processor. In order to improve the compatibility of the product the heat pipes are bent from the center to the back side of the cooler which will move the aluminum fin stack further away from DRAM slots and the installed modules. In addition to that, when the cooler is seen from the top the heat pipes pass through the fin stack formed as the letter T to guarantee maximum fin usage and faster heat dispersion and to deliver, according to SilentiumPC, TDP of 180W.
On the other hand, the top side the contact plate holds the metal crossbar, which will help the cooler to be connected to the mounting kit. The bar itself could be removed by unscrewing the thumbscrew in the middle of the contact plate.
And by mentioning the fin stack, let’s check its structure.
| Side view | Front view |
 |
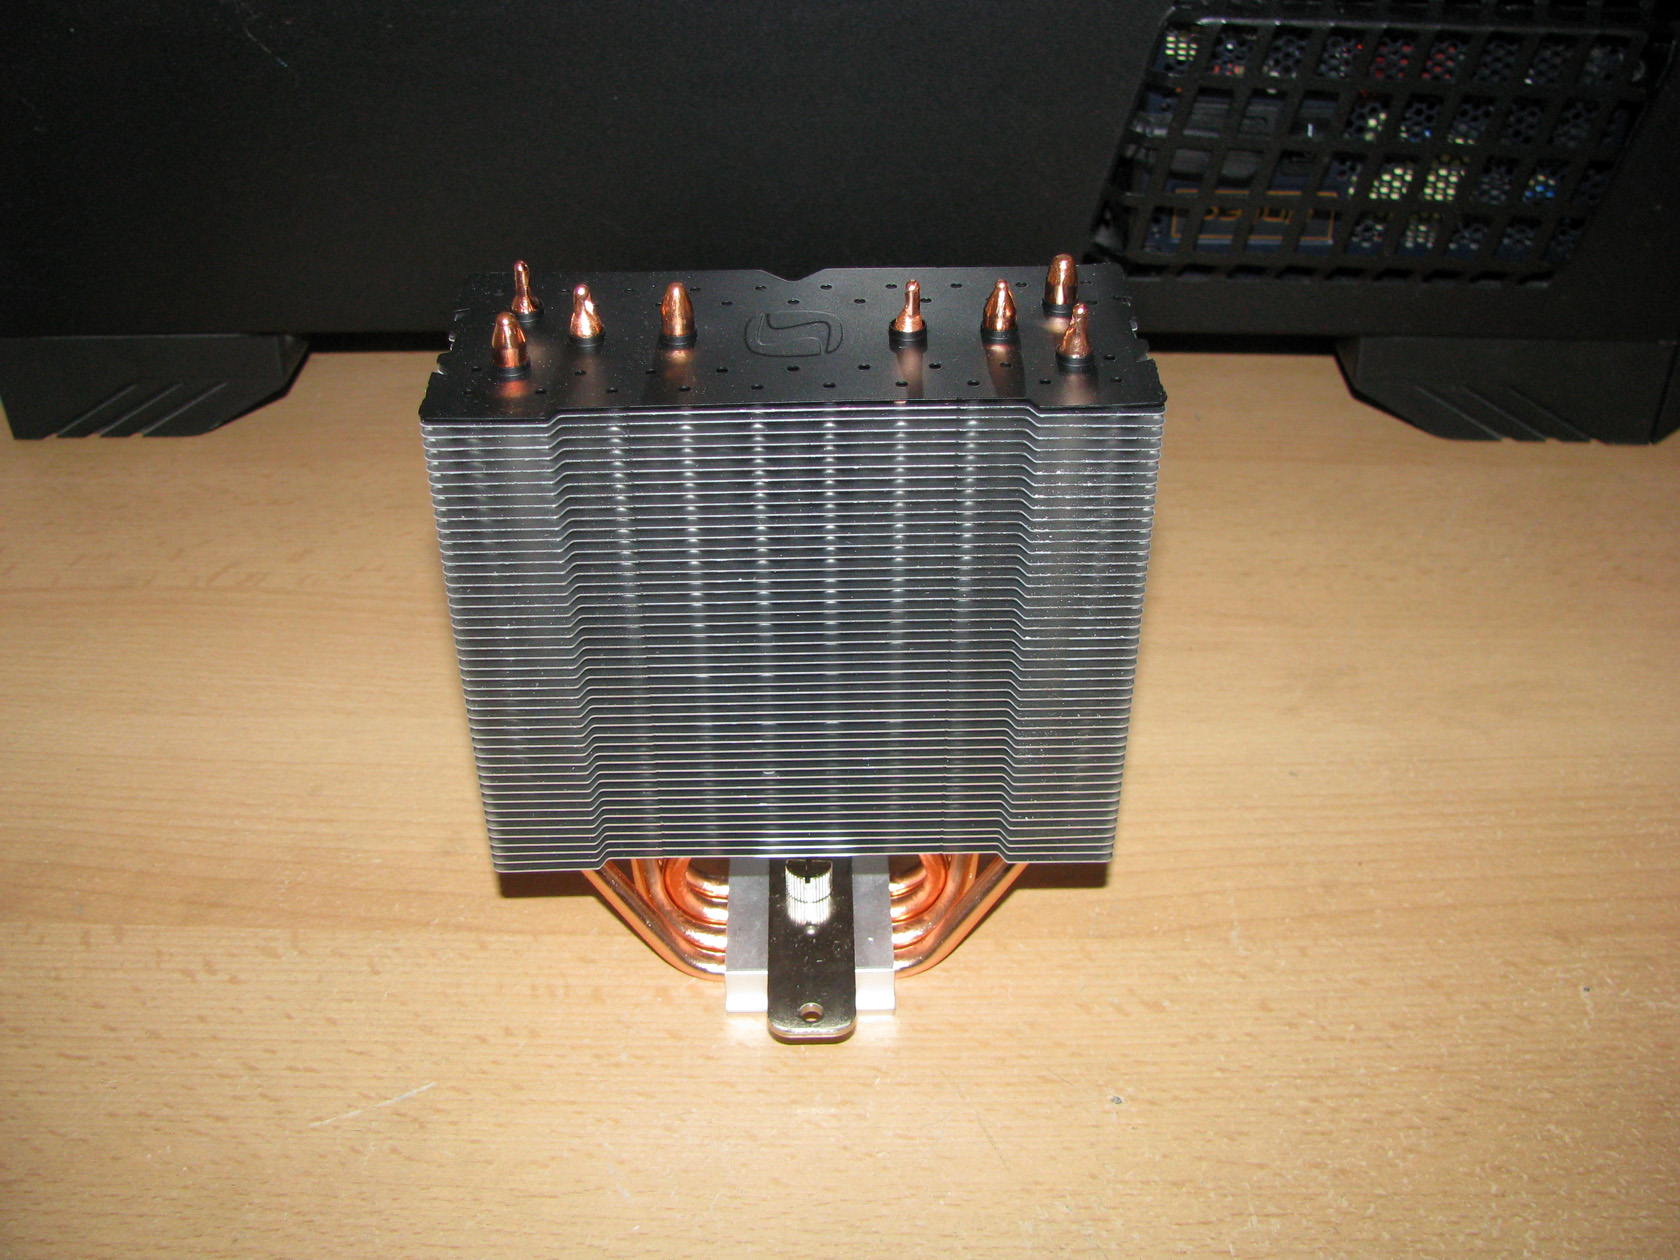 |
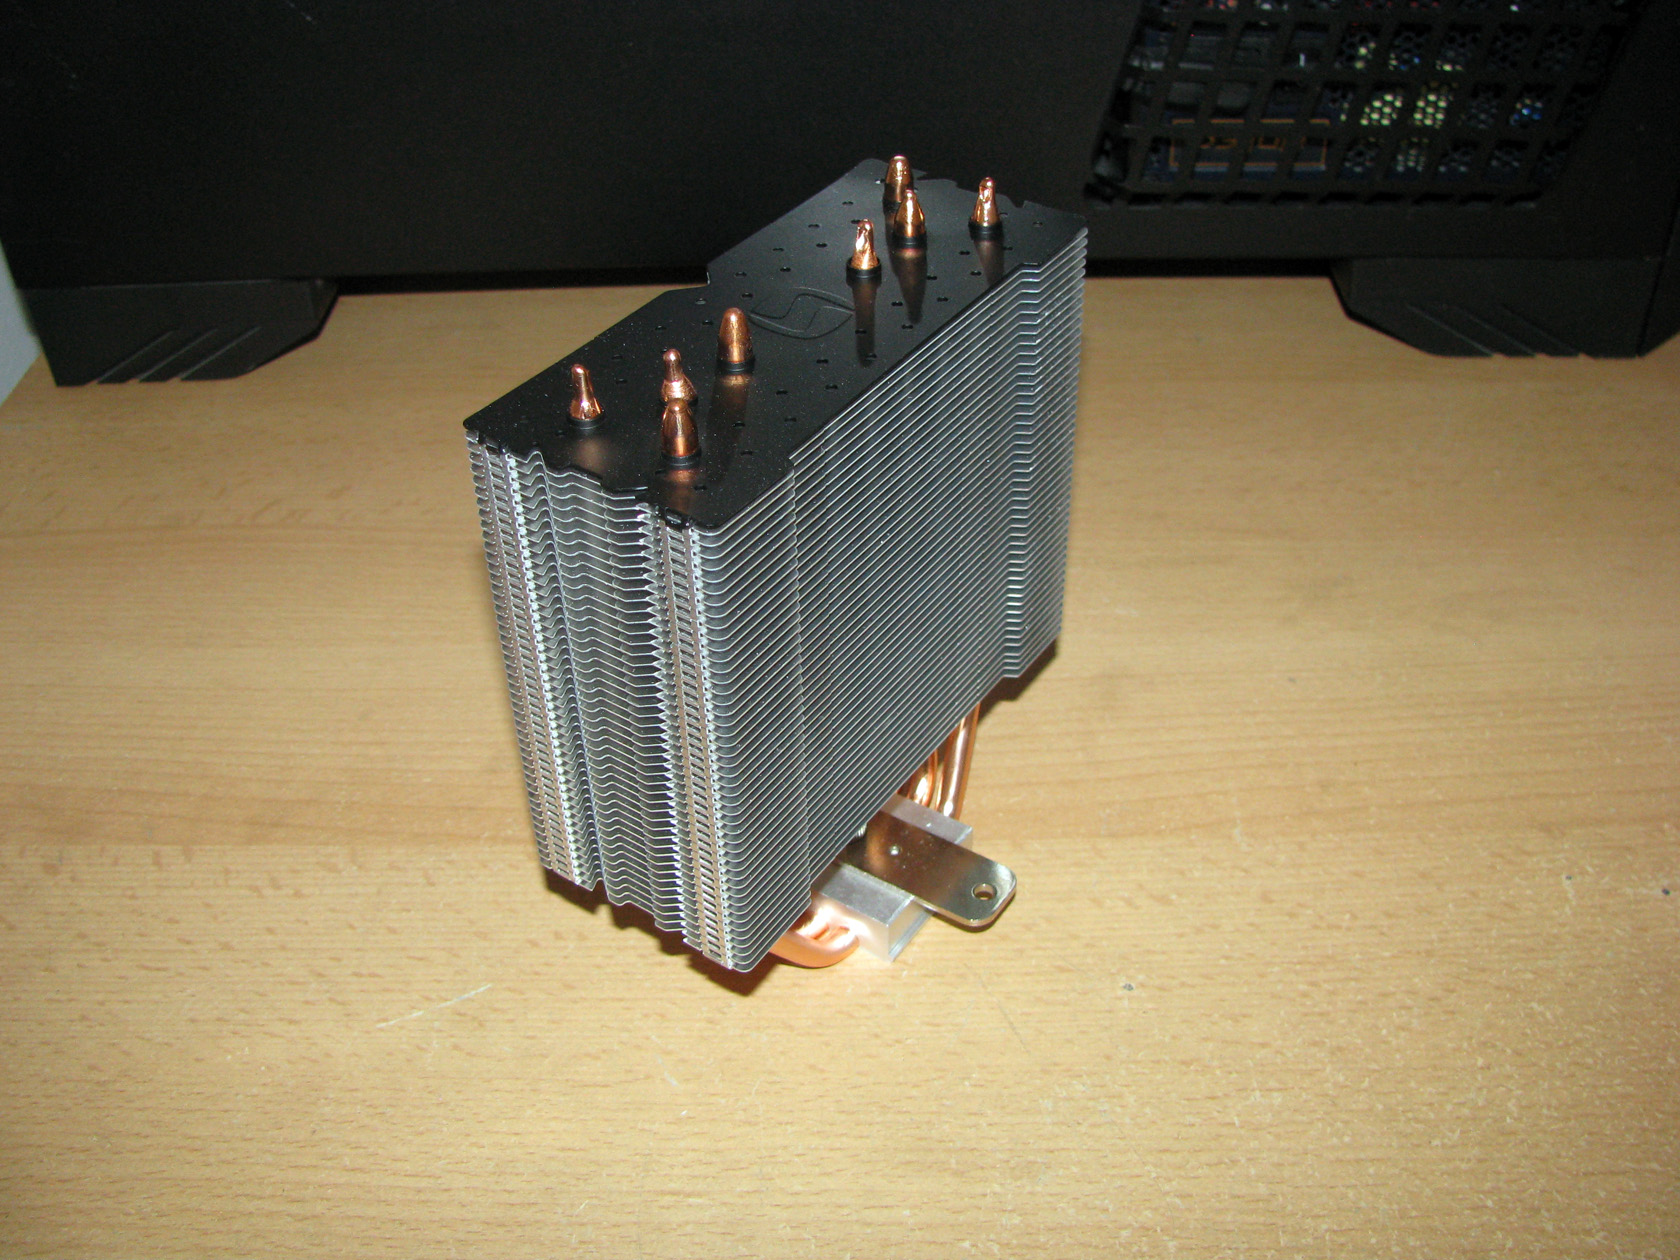
SilentiumPC FERA3 HE1224 offers a pretty slim asymmetrical to the center of the cooler single tower heat sink with dimensions of 123(W) x 103(H) x 53(D) mm and featuring 45 x 0.3 mm thick aluminum fins with 2 mm fin gap. The aluminum fin stack is designed to hold up to two 120mm fans in a push-pull setup but only one is included in the package.
Of course, to improve the overall aesthetics of the product, the cooler is equipped with a 46th pin located on top of the aluminum fins stack, which is anodized in black holding the company logo in the middle.
And since I’ve mentioned the fan, lets check what it has to offer.
| Sigma PRO 120 PWM fan | The fan brackets |
 |
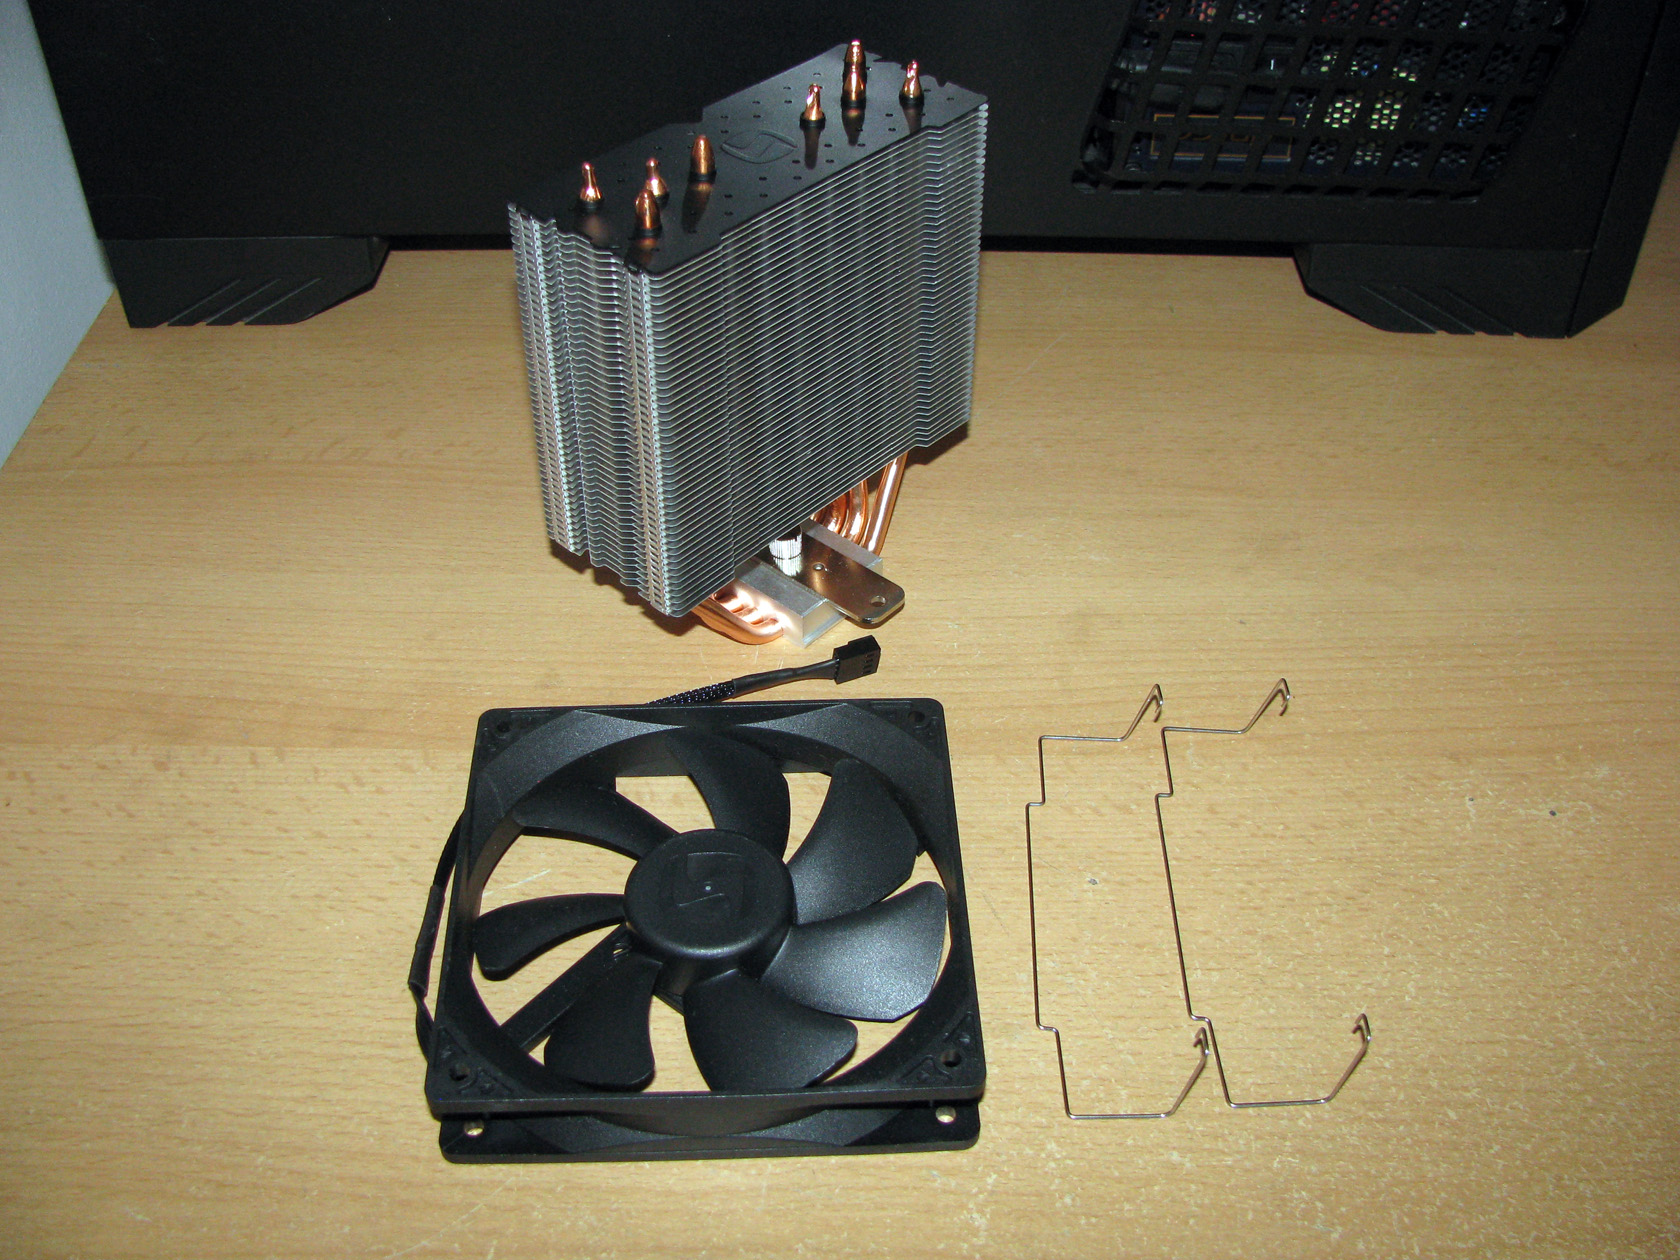 |
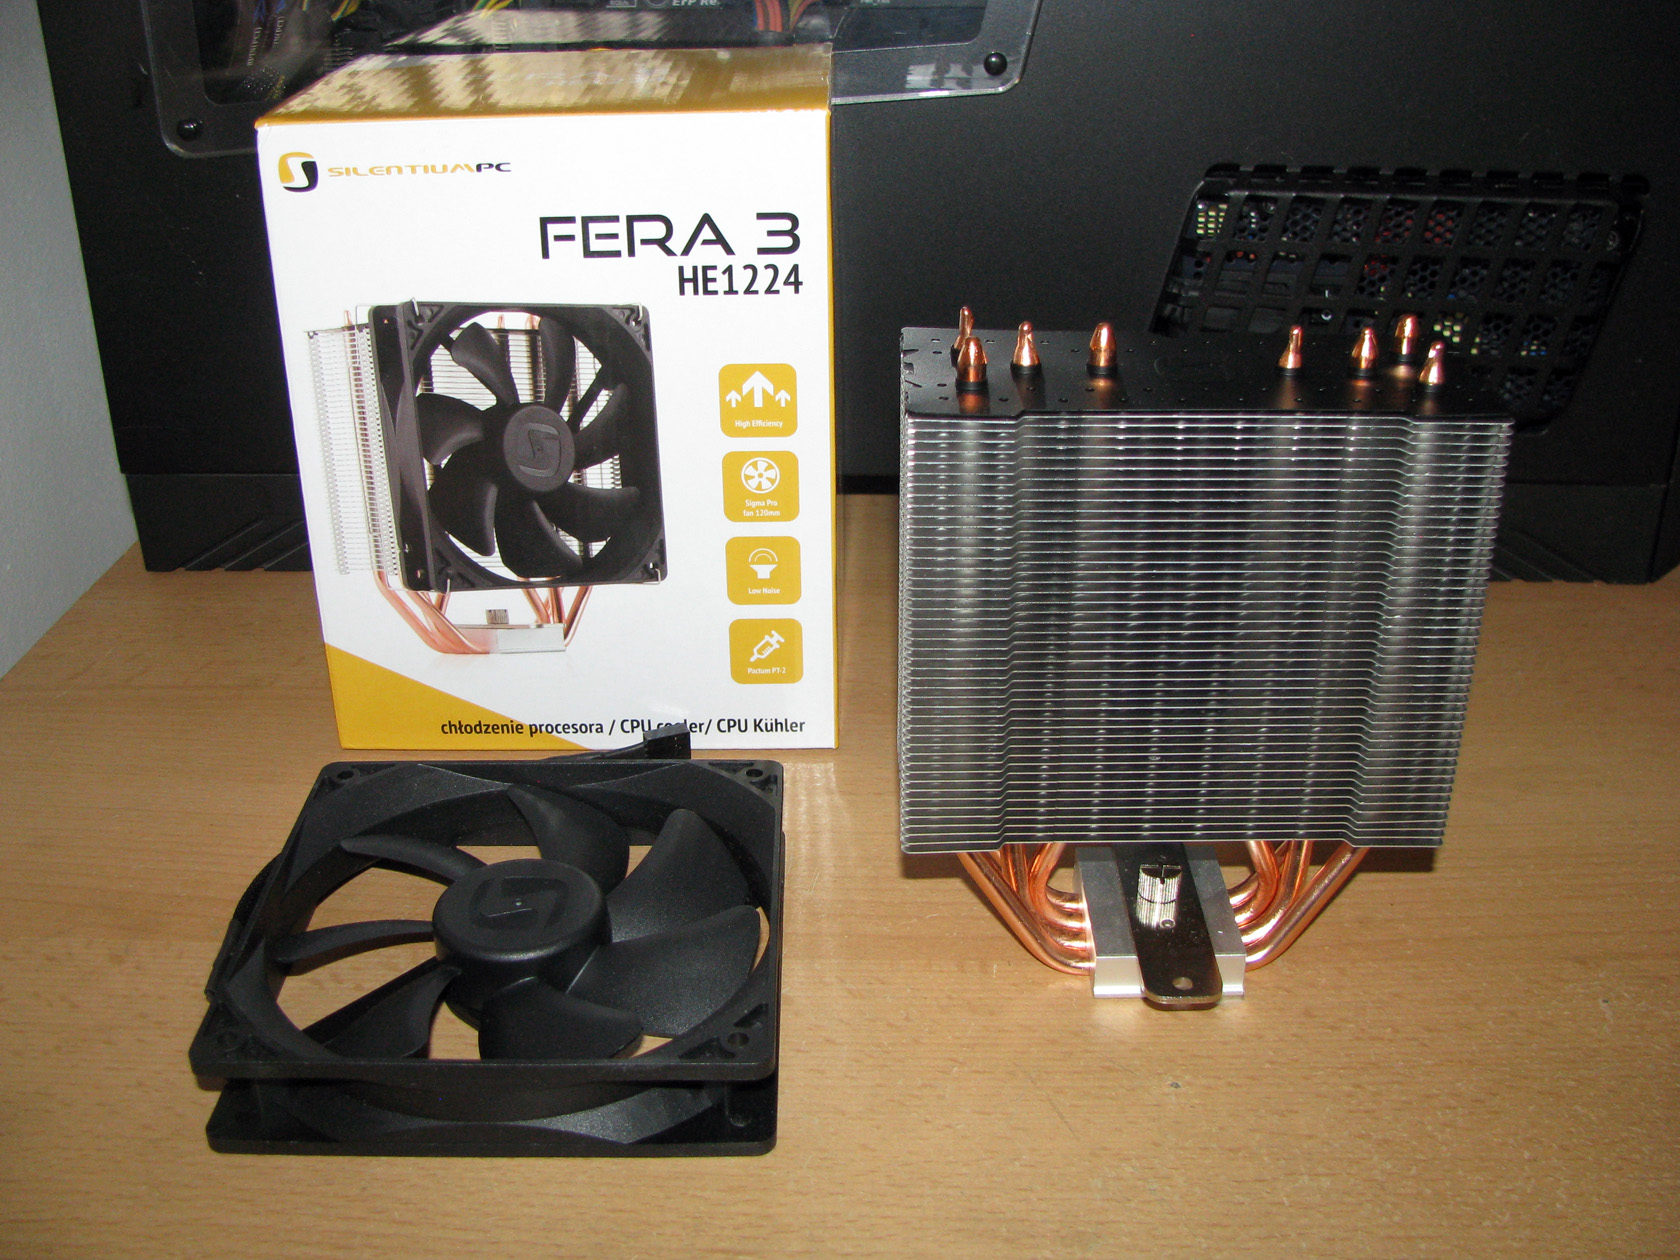
SilentiumPC FERA3 HE1224 is provided with just one Sigma PRO 120 PWM powered and regulated fan with dimensions of L120 mm x W120 mm x H25 mm featuring an entirely painted in black square frame and propeller with 7 pretty wide average sharply angled blades providing maximum airflow level of 46,5 CFM, while operating at 500 – 1600 +/- 10% revolutions per minute range with noise level range of 8 ~ 15 dBA. The connection between the frame and the propeller is done by a 4-pin PWM powered and regulated HSB / Hydraulic bearing, which can provide constant operation of up to 50000 hours.
And to install the fan I had to attach the 2 metal clips to the frame and after that mount the fan to the front side of the heatsink.
And this is what the fan looks installed on the heatsink.
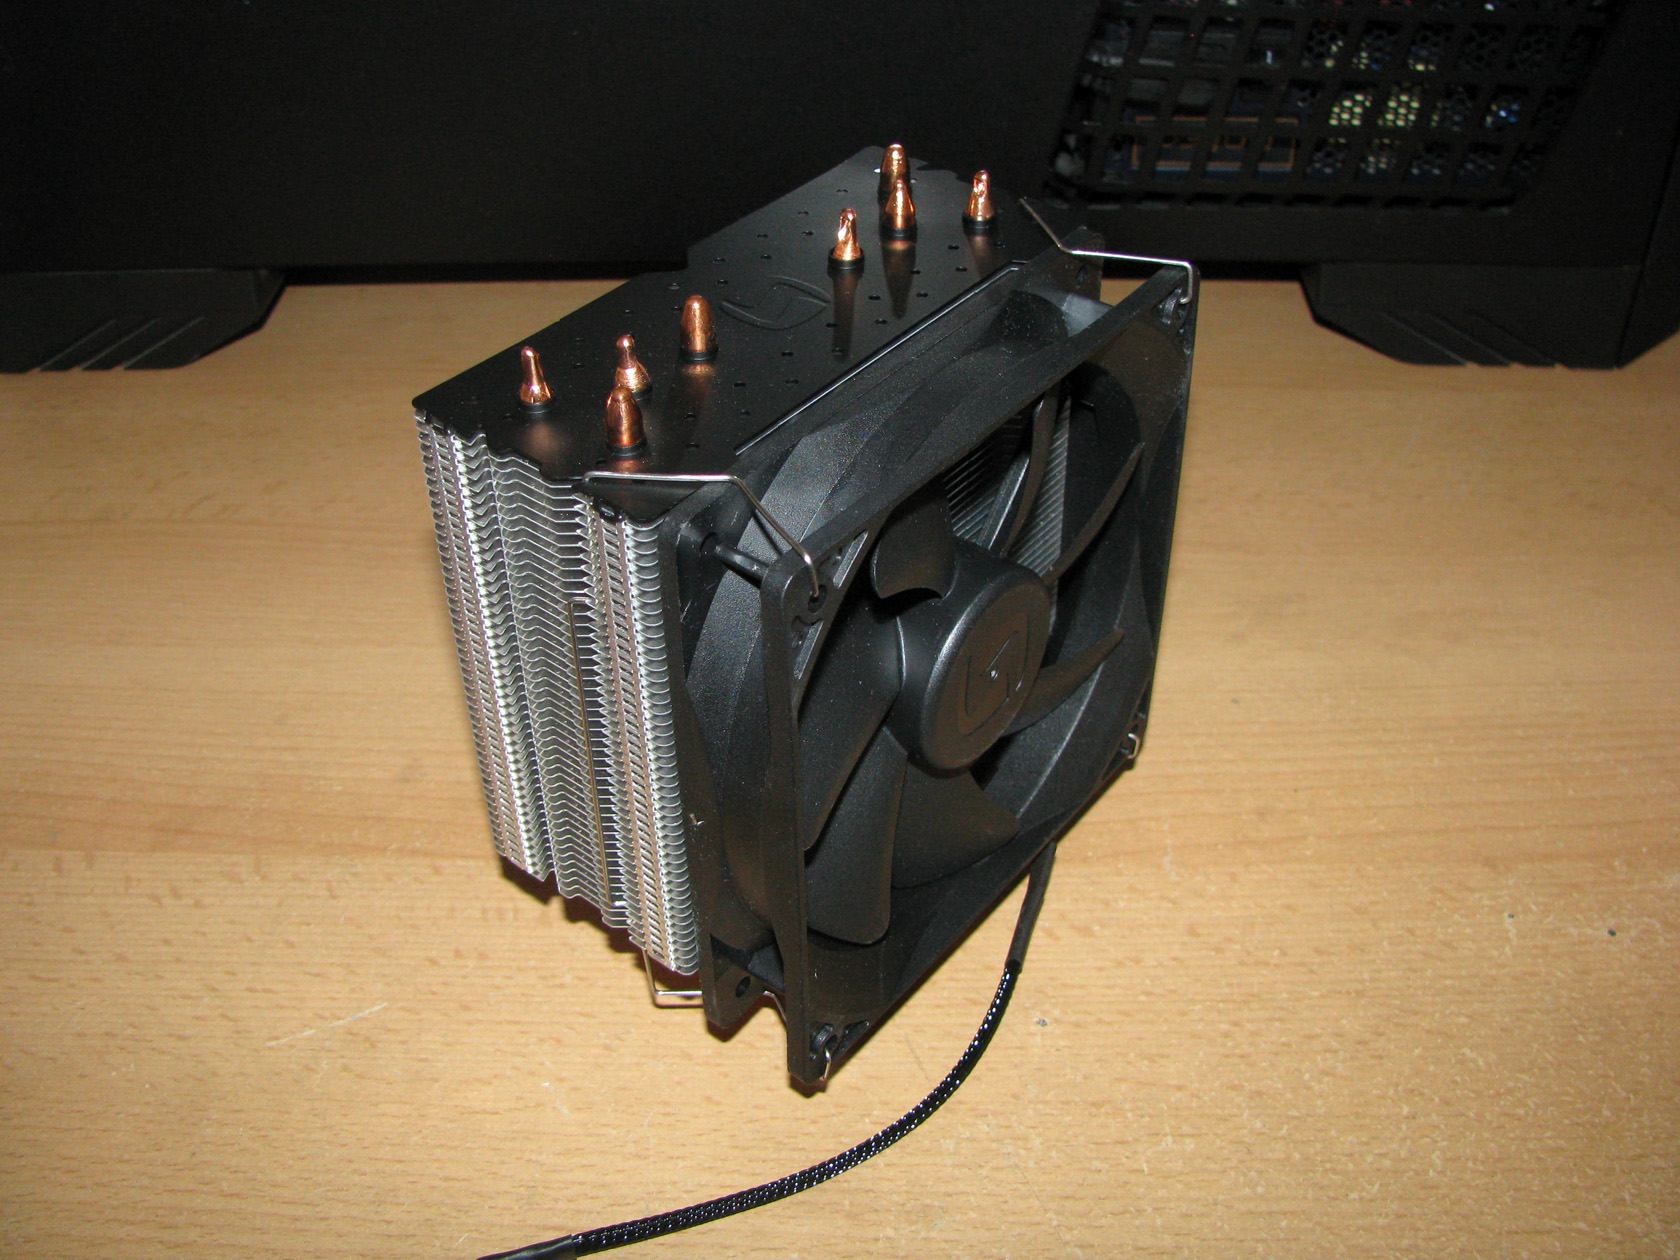
Of course, if additional performance boost is required a second 120mm fan could be attached to the back side of the heat sink with the two additional metal clips provided in the package.
With the cooler fully assembled, let’s pay some attention to the mounting kit and proceed with the tests.
According to the official technical details, the cooler is compatible with all of the modern sockets both from Intel and AMD, which includes:
- Intel sockets: LGA775, LGA1156, LGA1155, LGA1151, LGA1150, LGA 1366, LGA 2011, LGA 2011-3
- AMD sockets: AM2(+), AM3(+), FM1, FM2(+)
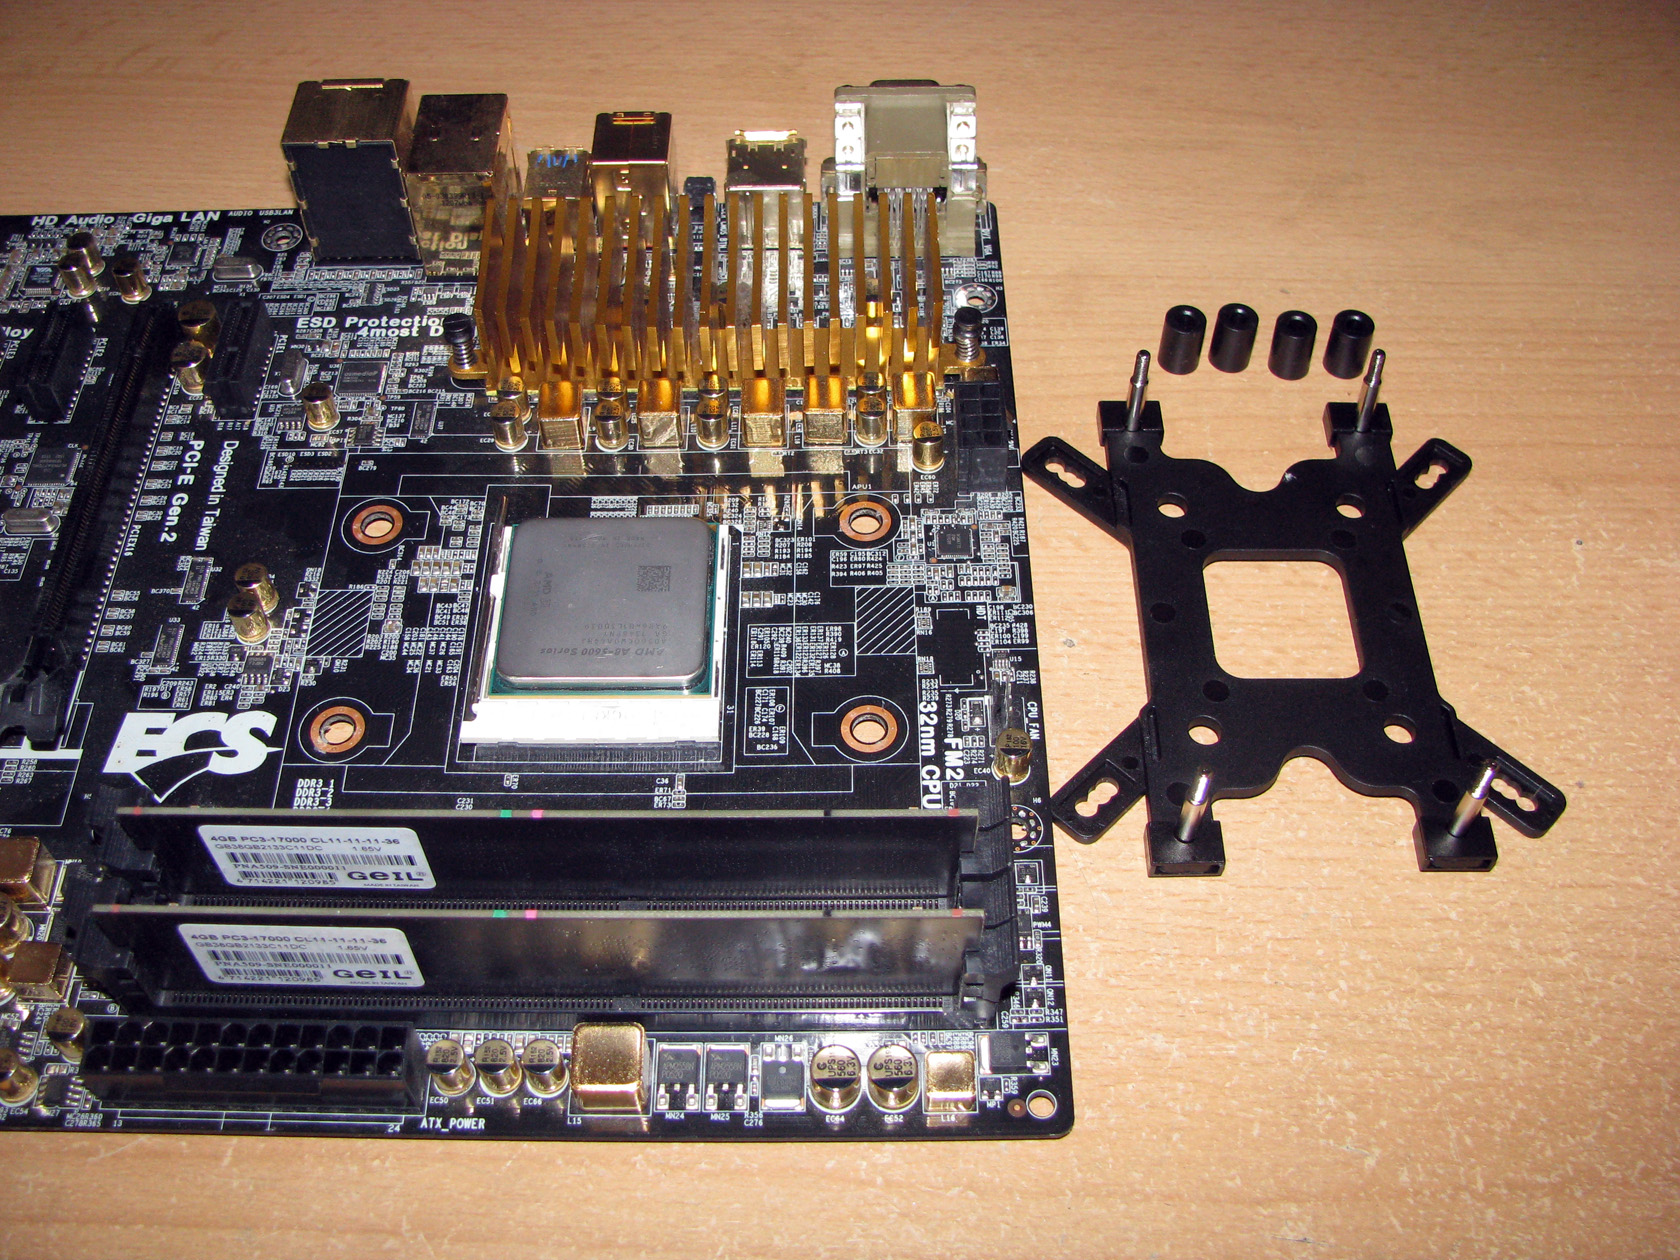
To proceed with doing the tests with my rig I will use the universal back plate, which is provided as part of the mounting kit but first thing to do is always check the AMD manual, read carefully the instructions and proceed with the actual cooler installation.
| All of the parts needed for AMD | The plastic tubes added |
 |
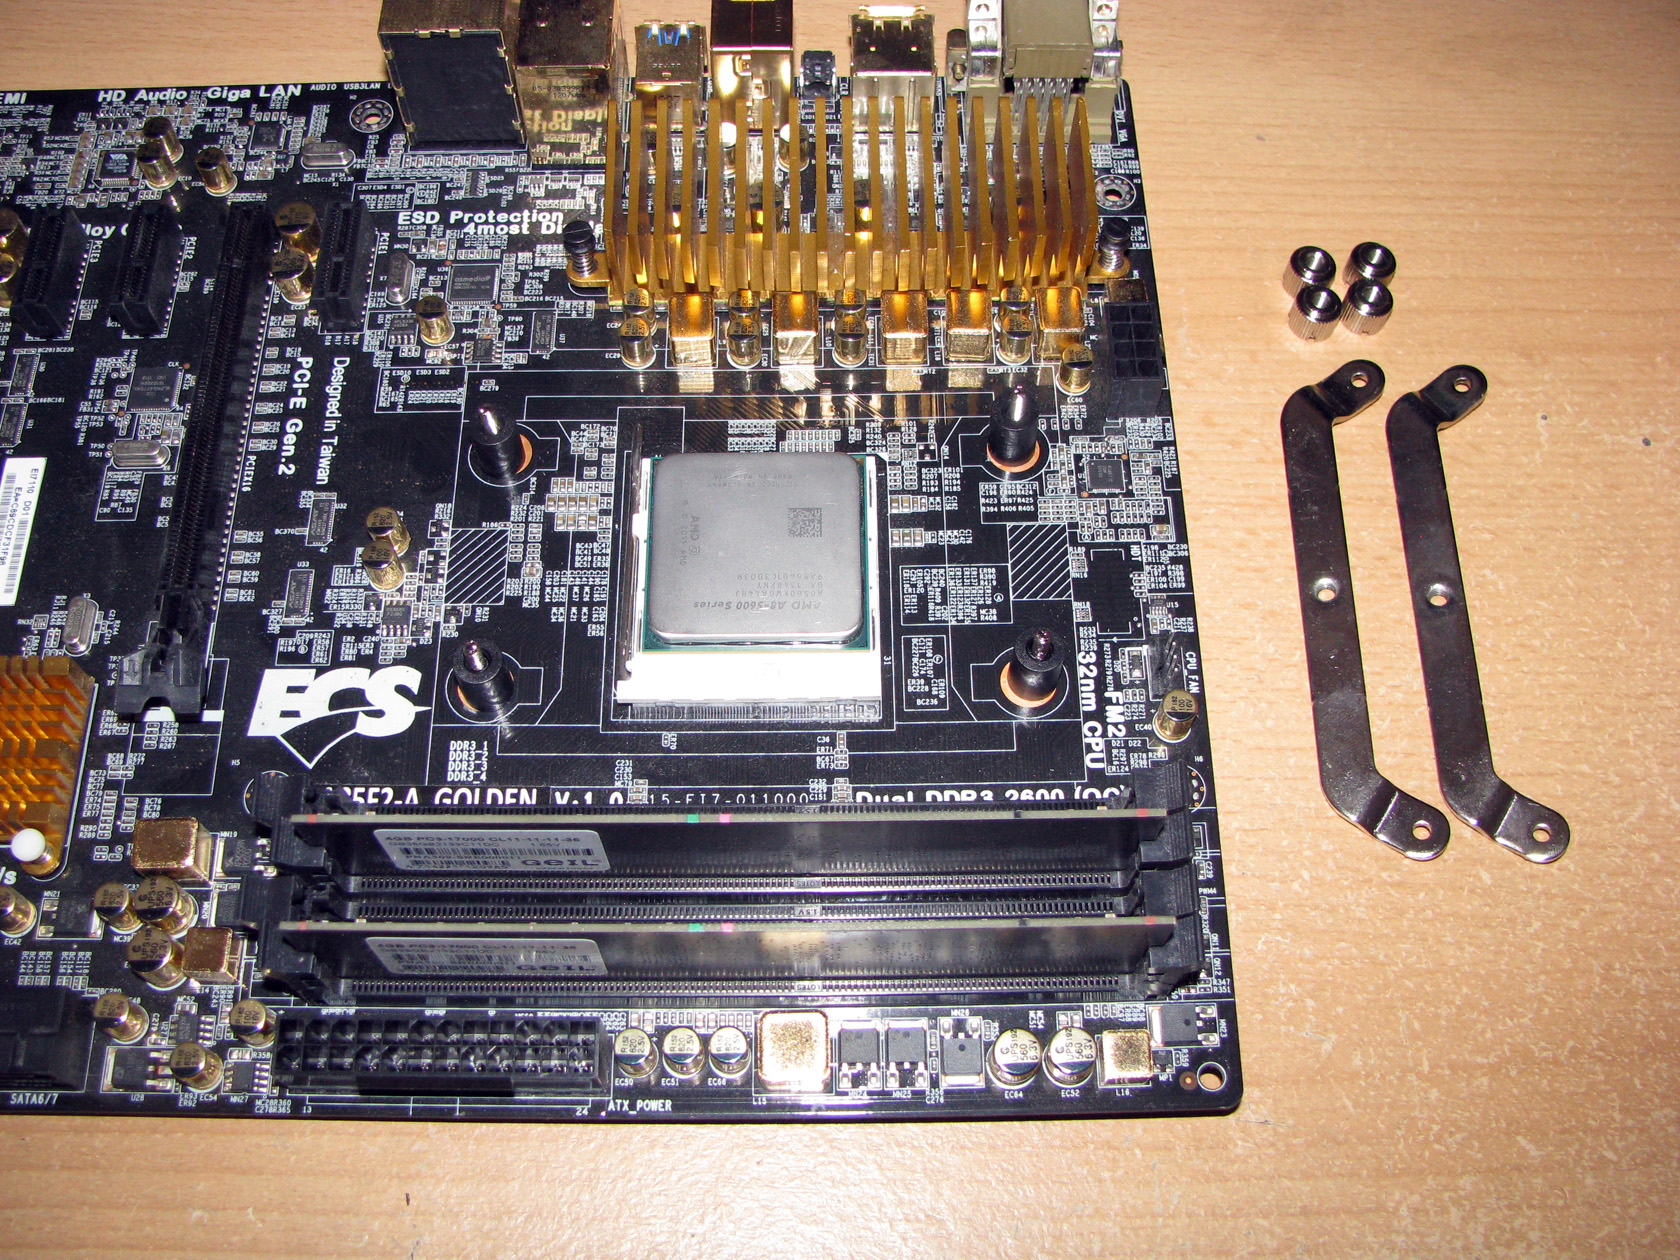 |
To attach the cooler to the motherboard I had to place the four long bolts through the back plate and after that add the four small plastic caps on each side of the back plate to secure the bolts in place. If the plastic caps are added they will guarantee easier and hassle-free installation.
After the bolts are secured I had to add the back plate to the back of the motherboard, add the plastic tubes and after that secure everything by adding the 2 metal brackets and fasten them with 2 screws each.
And of course, the last step was to add thermal compound and secure the heat sink to the processor by placing the cross bar in the middle of the metal brackets and secure them to each other with the help of two thumbscrews.
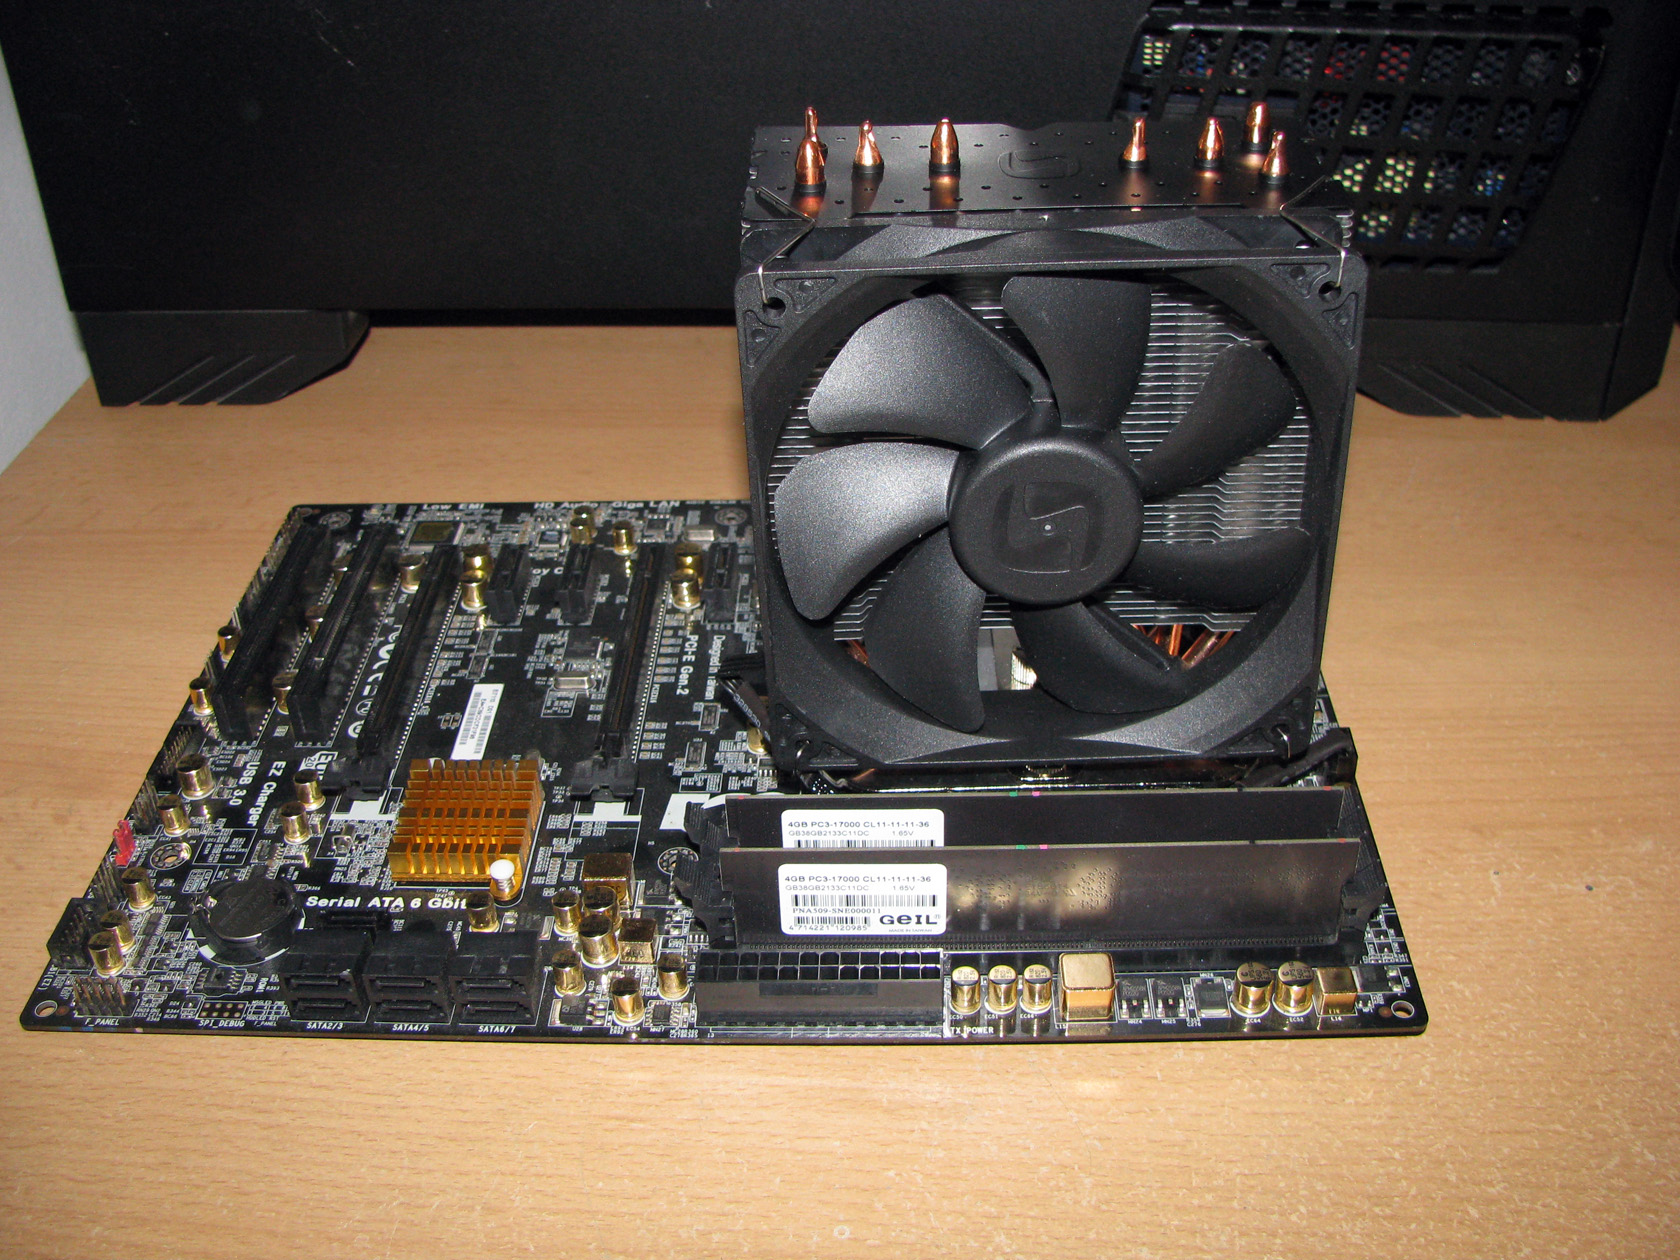
And this is what the cooler looks like installed on the motherboard:
| Heatsink seen from the front | Heatsink seen from the side |
 |
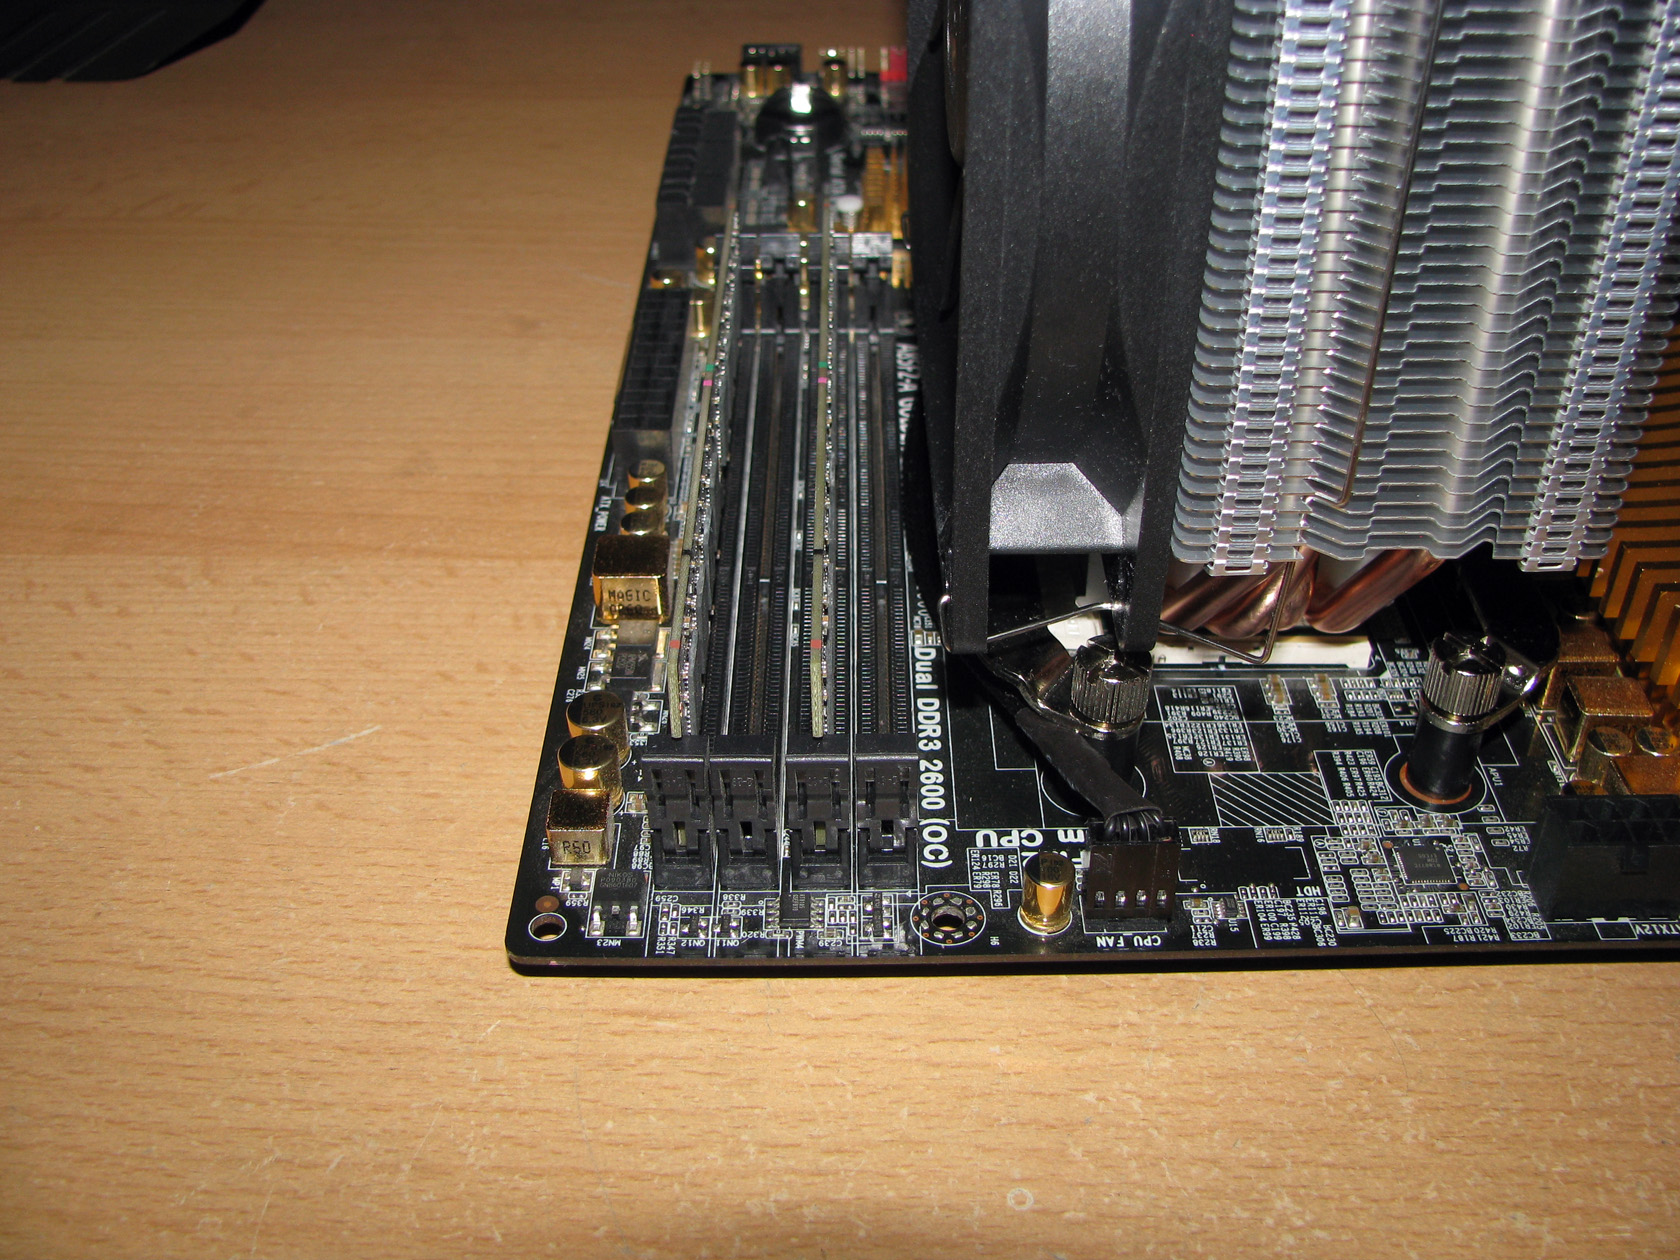 |
As you can see from the pictures above, when the cooler is installed on the motherboard it does not block any of the DRAM slots and can be used with all kinds of memory modules and that includes also modules with tall heat spreaders.
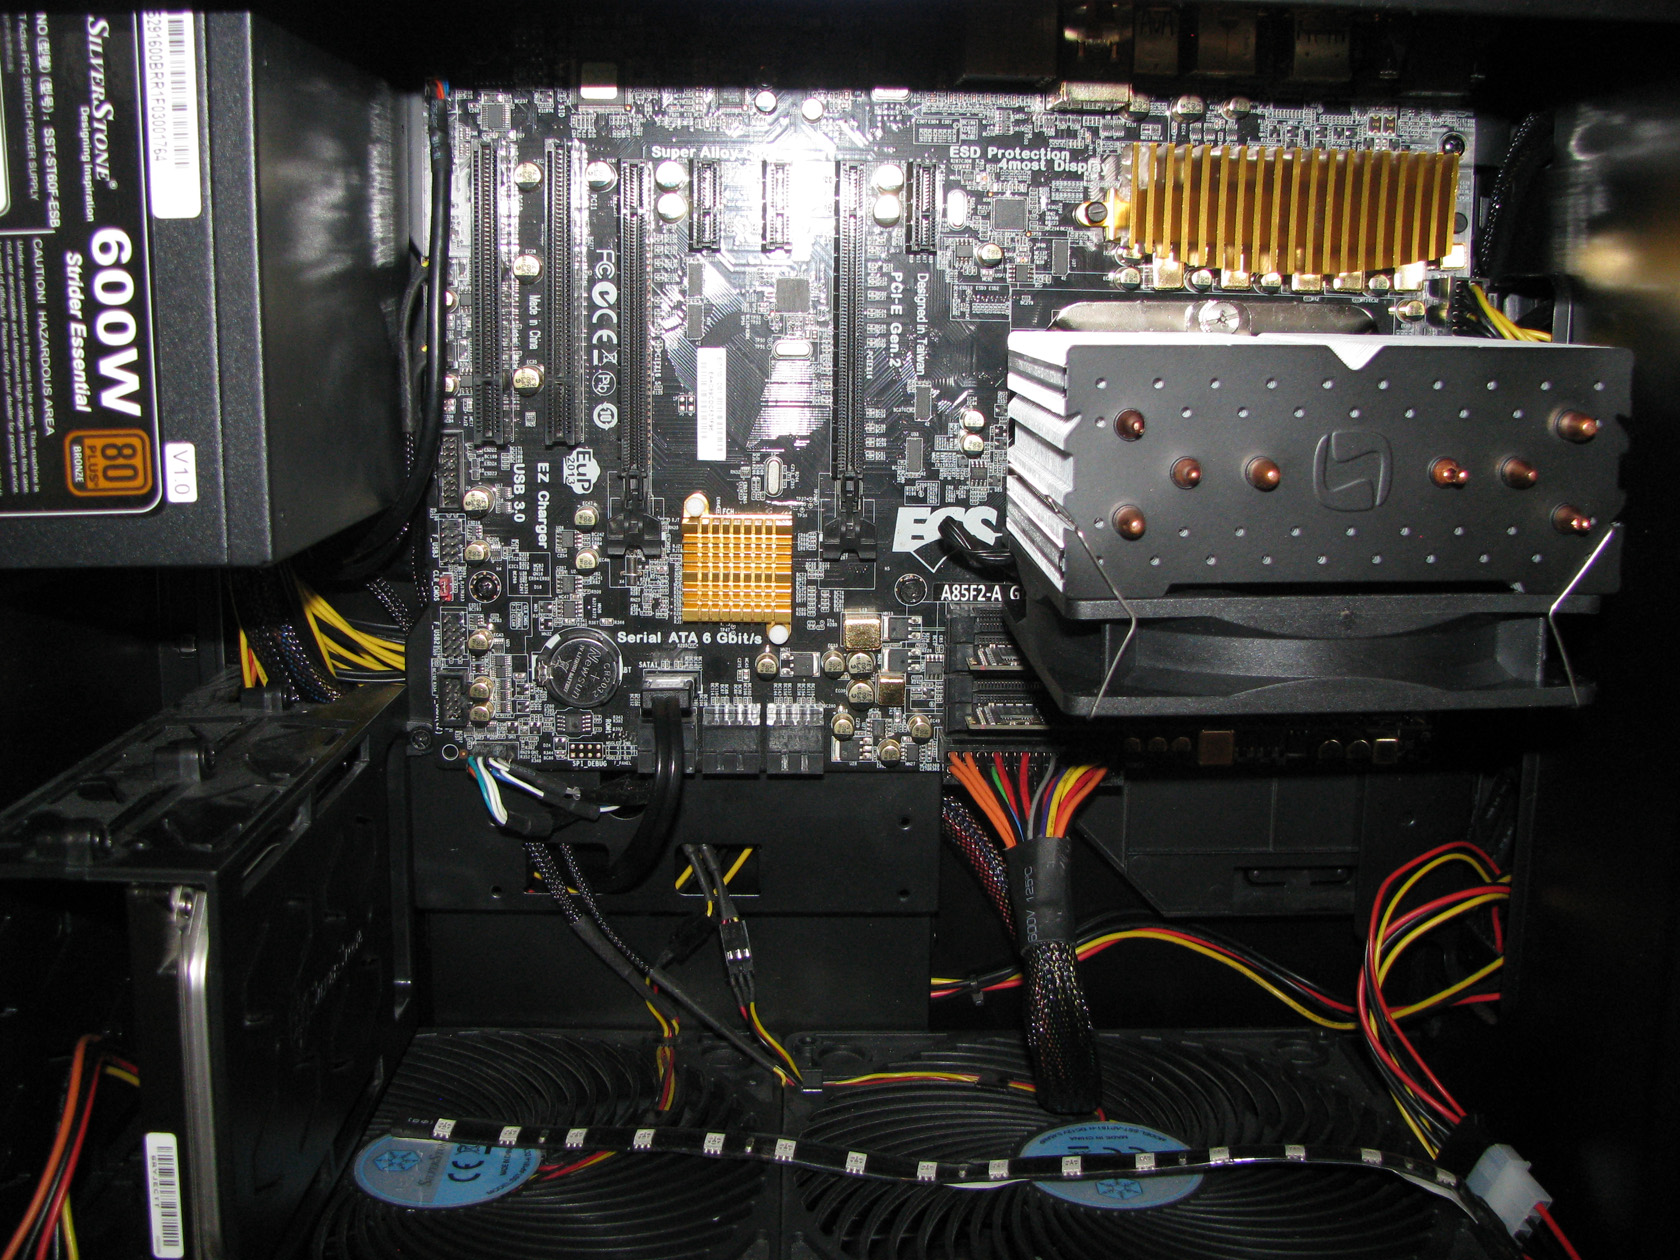
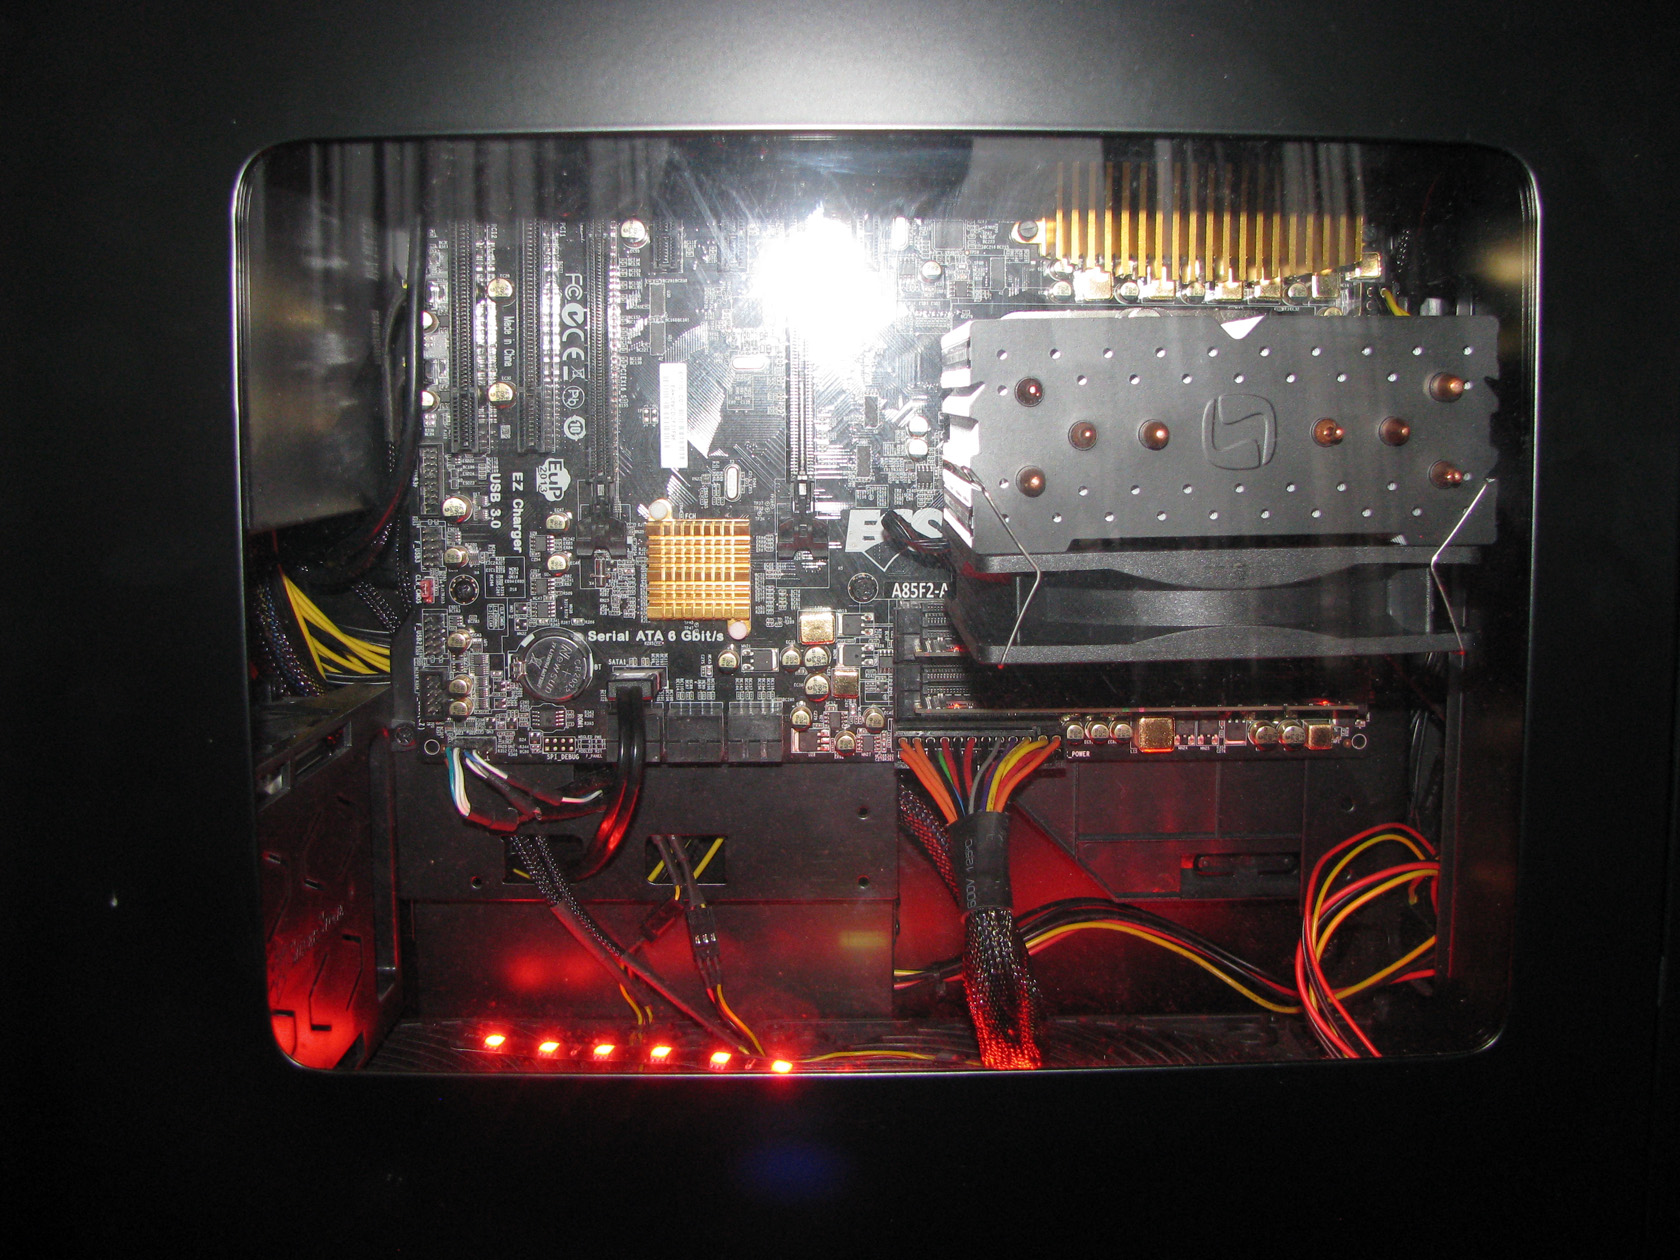
And this is what the cooler looks like installed on the motherboard and inside the case ready for testing.
| Without the panel | Fully assmbled |
 |
 |
Since the cooler is installed and ready for suffering I believe it is time to check my testing rig and continue the article.
SilentiumPC FERA3 HE1224 TESTS
CPU: AMD APU A8-5600k
- At standard frequency of 3.600 MHz (at 1.304V)
- At low overclock frequency of 3.900 MHz (at 1.408V)
- At medium overclock frequency of 4.200 MHz (at 1.424V)
- At high overclock frequency of 4.500 MHz (at 1.440V)
Motherboard: ECS A85F2-A GOLDEN (V1.0)
Video card: integrated Radeon HD 7560D
Memory: 2 x 4GB Geil Black Dragon 2133 MHz
Hard drive: Seagate Barracuda ST3250620AS 250GB
Case: SilverStone Raven RV-05
Power supply: SilverStone Strider T60F-ESB
Cooler: SilentiumPC FERA3 HE1224
Thermal paste: Noctua NT-H1 thermal compound
For this test and review I am going to use the Sigma PRO 120 PWM working at full speed of 1600 revolutions per minute with noise level of 15 dB(A) and providing airflow level of 46,5 CFM.
The tests were conducted in a closed system with:
- 2 x SilverStone AP181 – 180mm fans on the bottom panel putting fresh air in and spinning at about 1200 rpm
- Room temperature of about 18 degrees.
The SilverStone AP181 – 180mm fans were connected to the chassis 1 and system connectors and were rotating at maximum speed.
And here I want to describe my testing method.
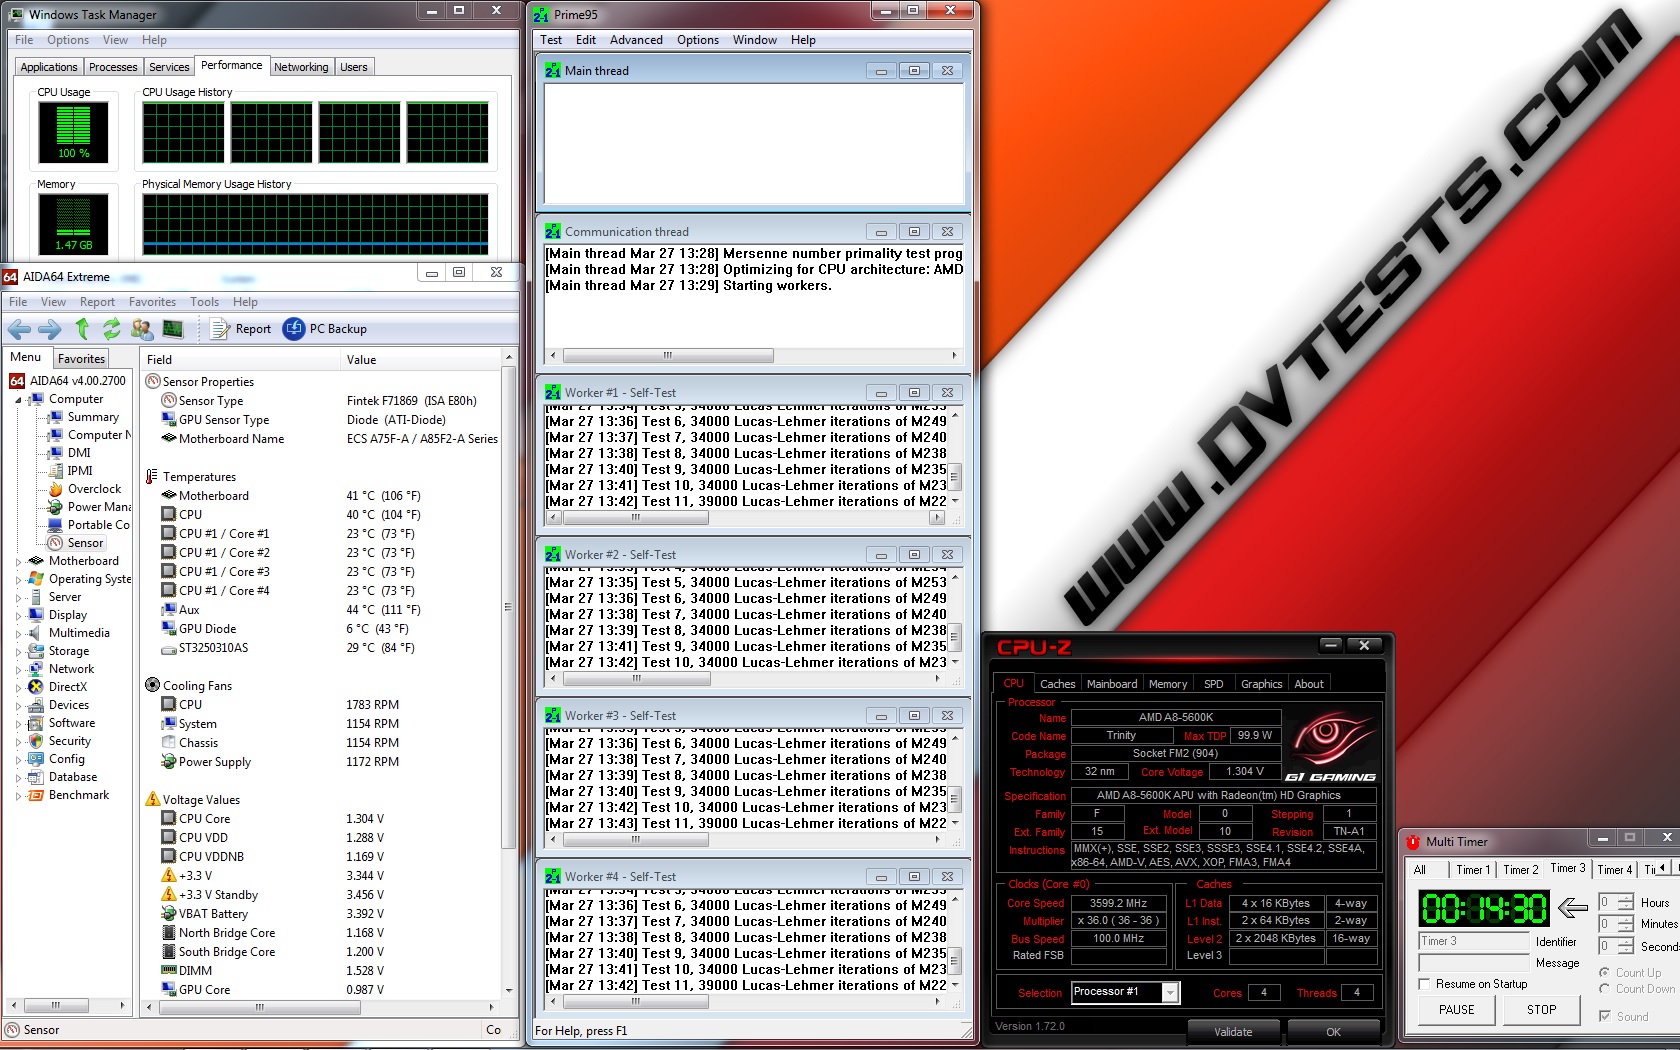
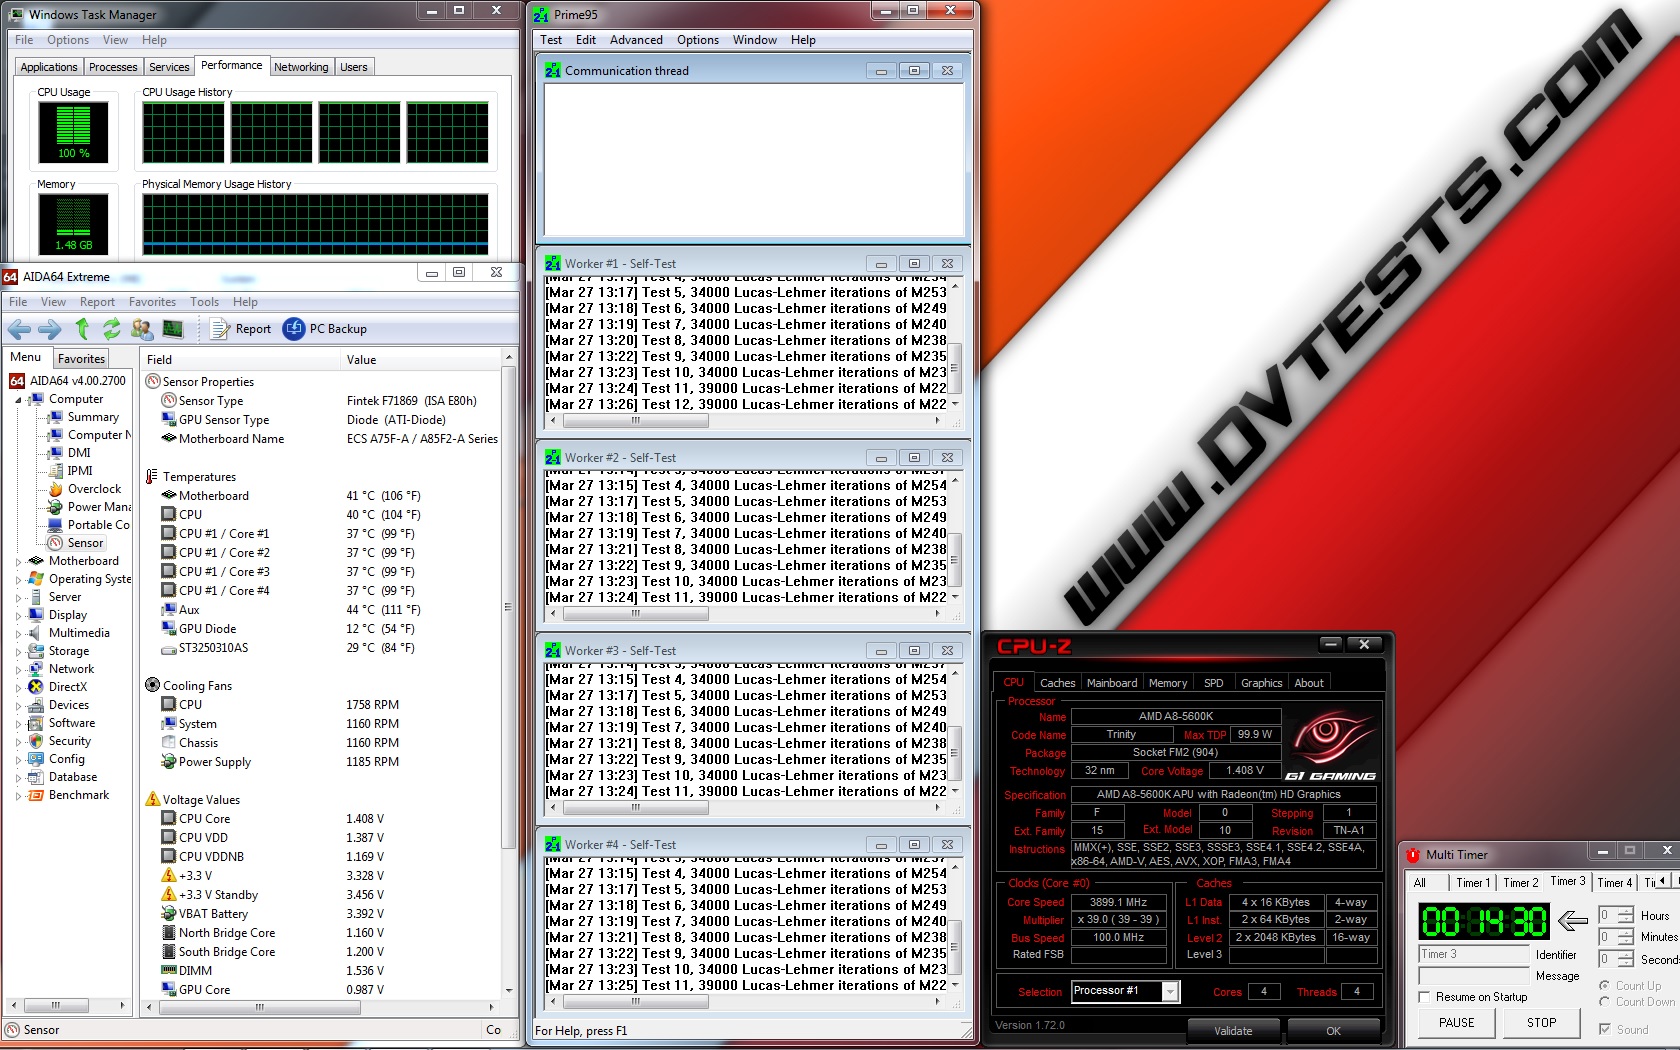
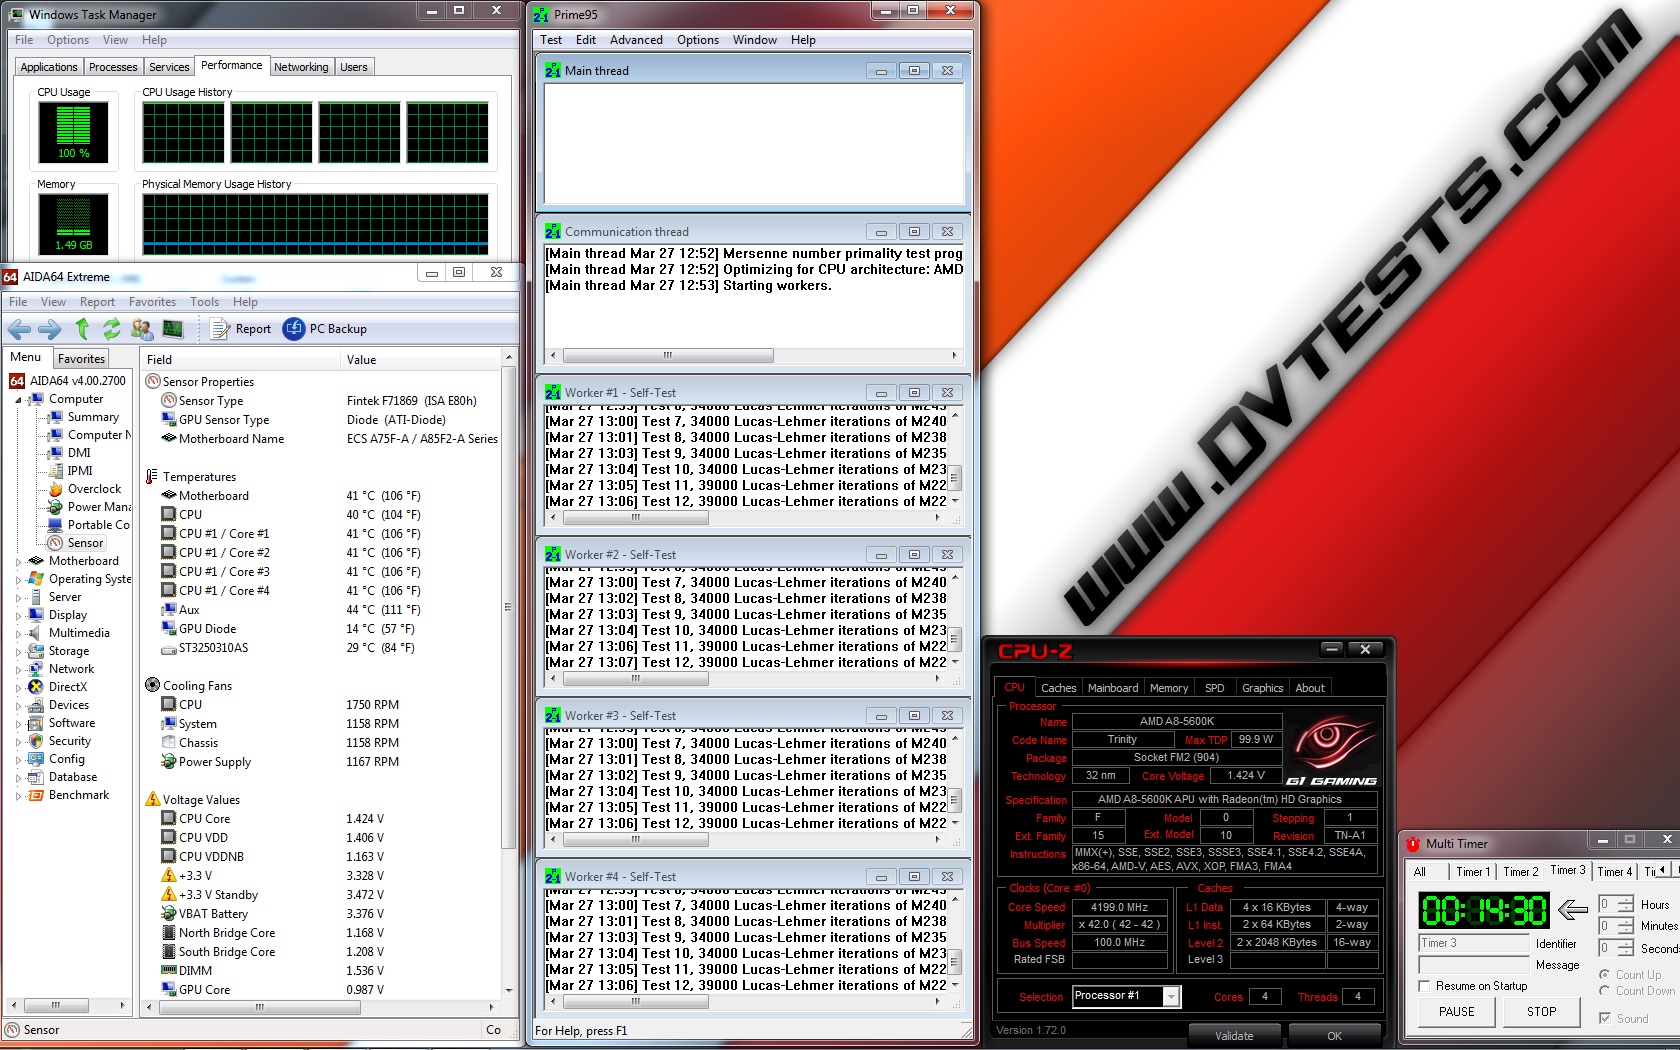
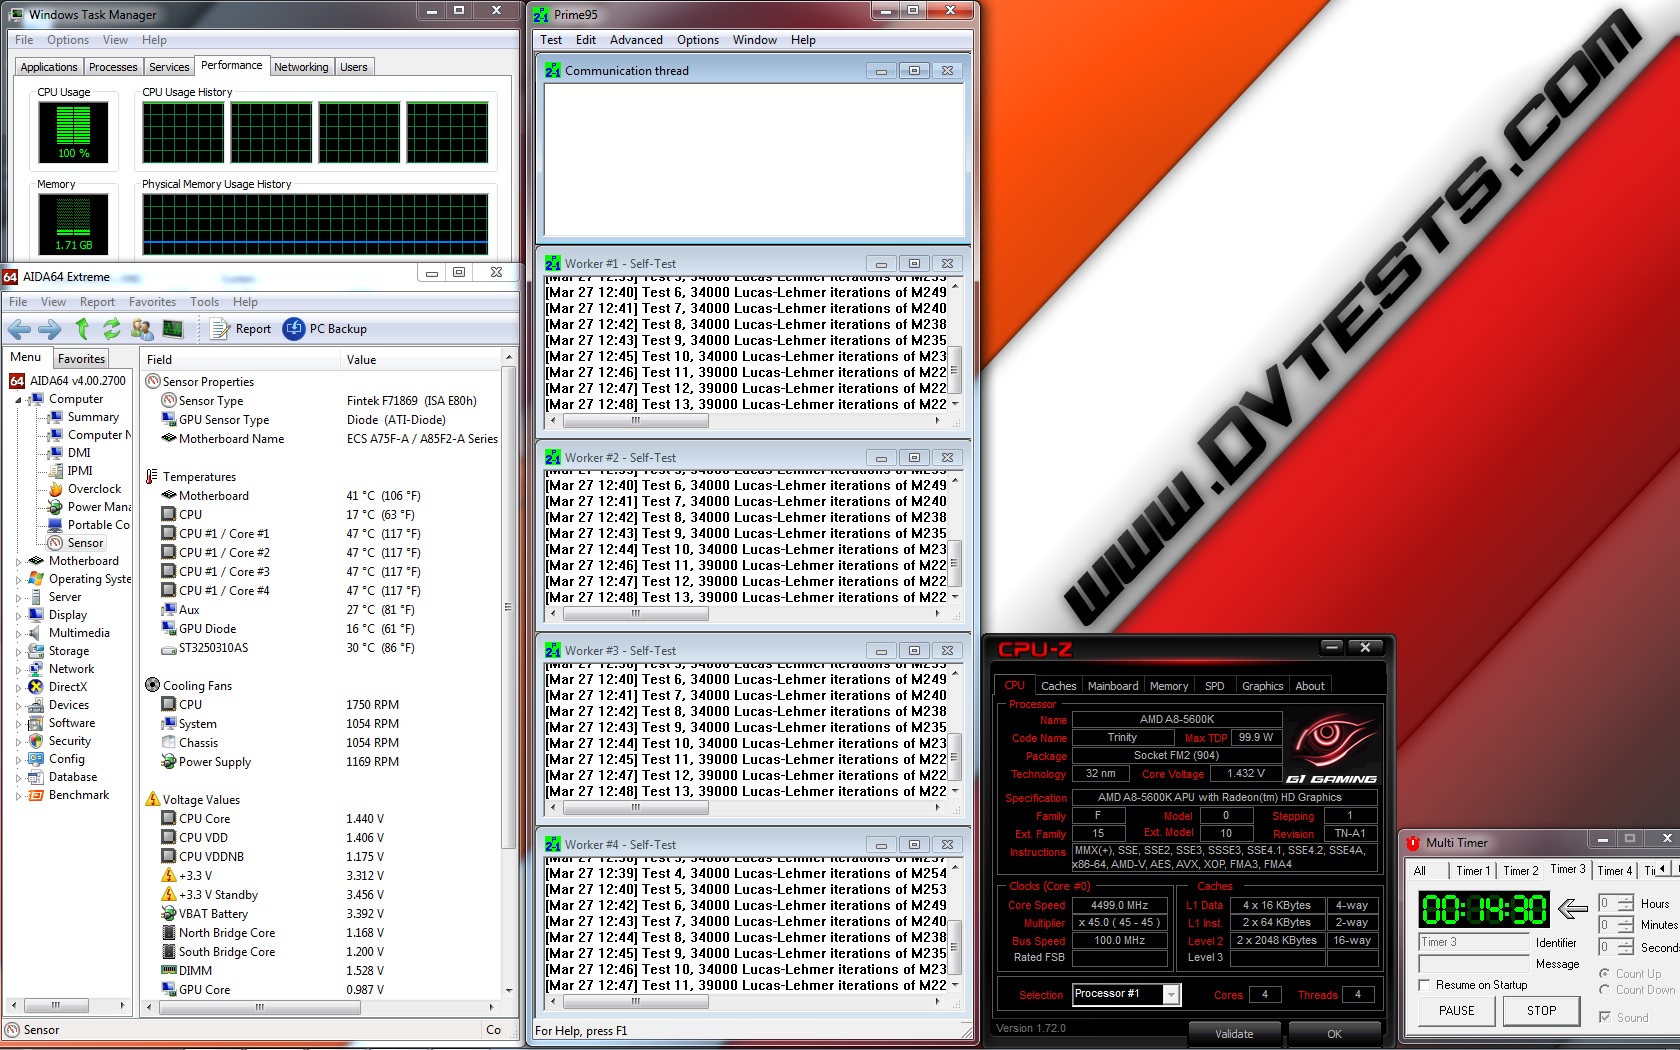
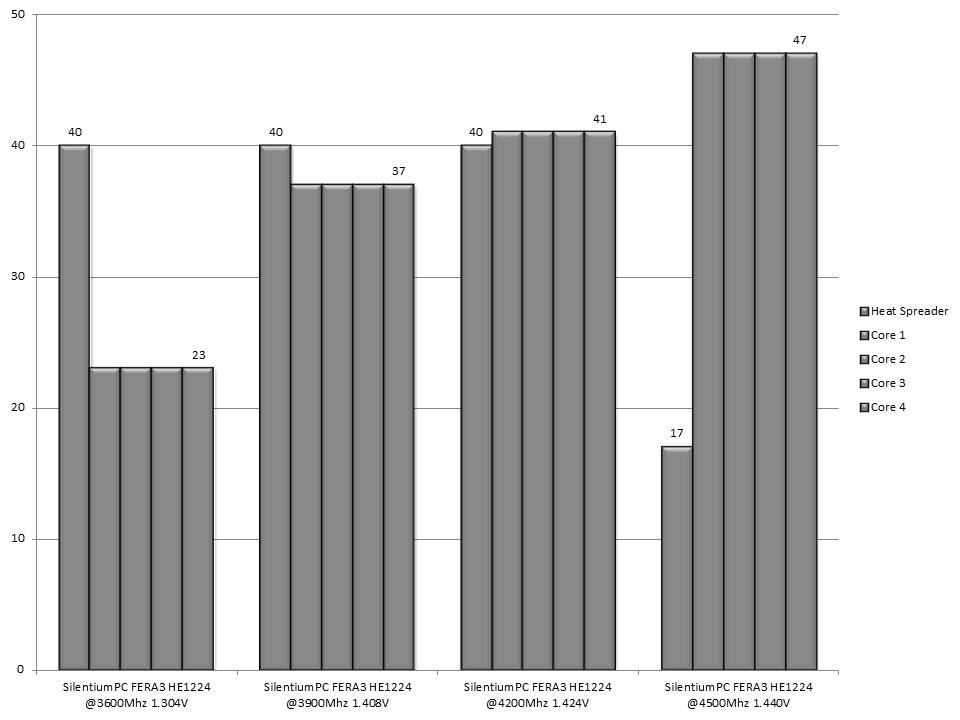
I will do stress tests of SilentiumPC FERA3 HE1224 using Prime95 AVX software with constant load on the cooler for 14:30 minutes with custom settings of minimum FFT size (in K of 128), max FFT size (in K of 128) and Run FFTs in place at standard frequency of 3.600 MHz (at 1.304V), at low overclock frequency of 3.900 MHz (at 1.408V), at medium overclock frequency of 4.200 MHz (at 1.424V) and high overclock frequency of 4.500 MHz (at 1.440V) using only the fan provided in the package, installed on the front of the fin stack.
Now let’s check out the test results:
| FERA3 HE1224 @3600MHz 1.304V | FERA3 HE1224 @3900MHz 1.408V |
 |
 |
| FERA3 HE1224 @4200MHz 1.424V | FERA3 HE1224 @4500MHz 1.440V |
 |
 |
All of the test results have been summed up in the following charts:
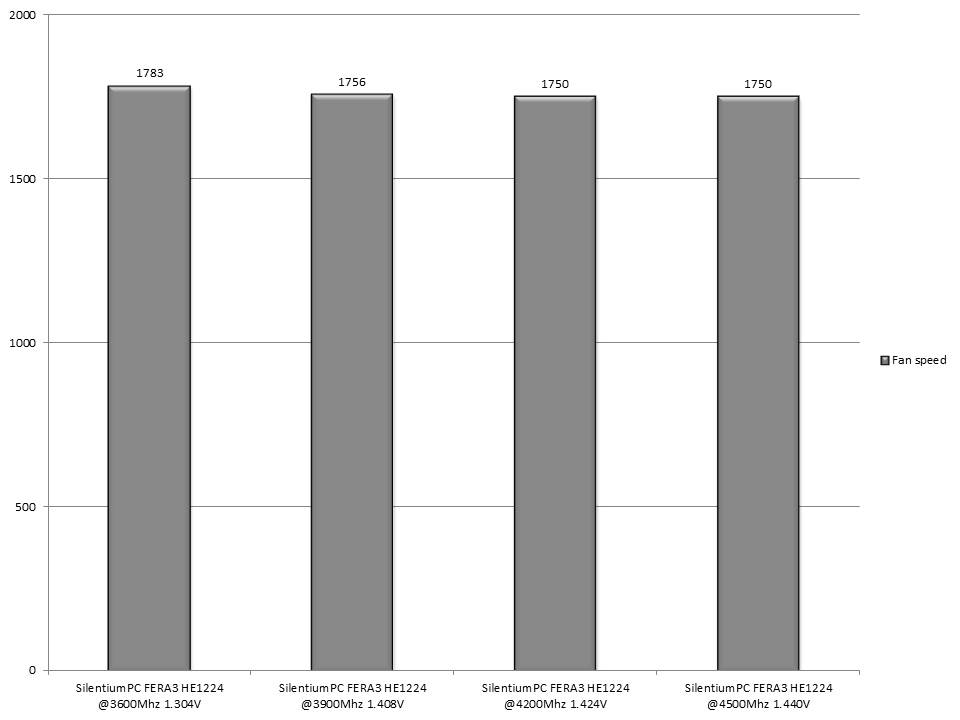
And the fan speed during the tests:
I believe the time to express my feelings and thoughts regarding the product has arrived.
SilentiumPC FERA3 HE1224 CONCLUSIONS
1. SilentiumPC FERA3 HE1224 performance:
After checking the cooler structure and later performing some tests, I should say that SilentiumPC FERA3 HE122 is actually a small but very effective cooler. And if I have to add the price range to the big picture I should say it is a very, I mean very cost effective product and it is definitely a product made to provide reliable cooling performance and to keep the mainstream users happy.
At first glance I was not really impressed with what I saw and I was a bit skeptical regarding the rated 180W TDP since the cooler is pretty average sized but after all of the tests were conducted I was pretty amazed with the results. Throughout the tests SilentiumPC FERA3 HE122 was performing in a very stable way and there weren’t any temperature spikes and it was able to keep my processor working flawlessly at all kinds of frequencies.
According to what I saw I am expecting that this product is a good choice for all mainstream processors running at default or average overclocked frequencies. Of course, for high or even extreme overclock achievements there are other models which will be more suitable.
Also with these dimensions, performance and price, SilentiumPC FERA3 HE122 could fit in a small form factor PCs and maintain good cooling/noise level balance.
2. SilentiumPC FERA3 HE1224 appearance:
As a big fan of the steampunk builds and most of all the black/copper colour scheme I was attracted to the overall cooler appearance. For me, black cooler with copper heat pipes is really eye catchy and definitely is a combination, which I will enjoy having in my rig. Of course, this is very personal so I should say that when the cooler is installed inside the case it maintains a neutral and at the same time very stylish appearance.
According to my review, I think that SilentiumPC FERA3 HE1224 deserves the following award:

Official price (MSRP) for SilentiumPC FERA3 HE1224: 26.90 EUR including VAT
Official warranty: 24 months
I thank SilentiumPC for the test sample.


Hello and thank you for the information.
It seems there is an issue with the Total Score module.
Thank you for the good words. I am happy to see the reviews are valuable and interesting.
The total score is wrong. Should be 9.3 not 8.4. By the way.. excelent reviews.